Routing and Filters
Routing
Filters are used to decide the routing of each message. They can be used by mappers, mappings and sender plugins; anywhere a message filter is needed.
Filters can be applied to:
- Sender plugins: used to select the messages that will be sent to its endpoint
- Mappers: messages that are filtered out by a mapper will be mapped by a different mapper or, if there are none, will be sent on unmapped.
- Mapping definition: used to decide if to map a certain message field.
You need to be in the advanced user mode to add, configure, modify, manage filters.
To configure filters you have to edit the plugin, the mapper or a mapping definition filters are assigned to. Best practices filters are applied by default. You can modify these or create new filters from scratch.
Filters
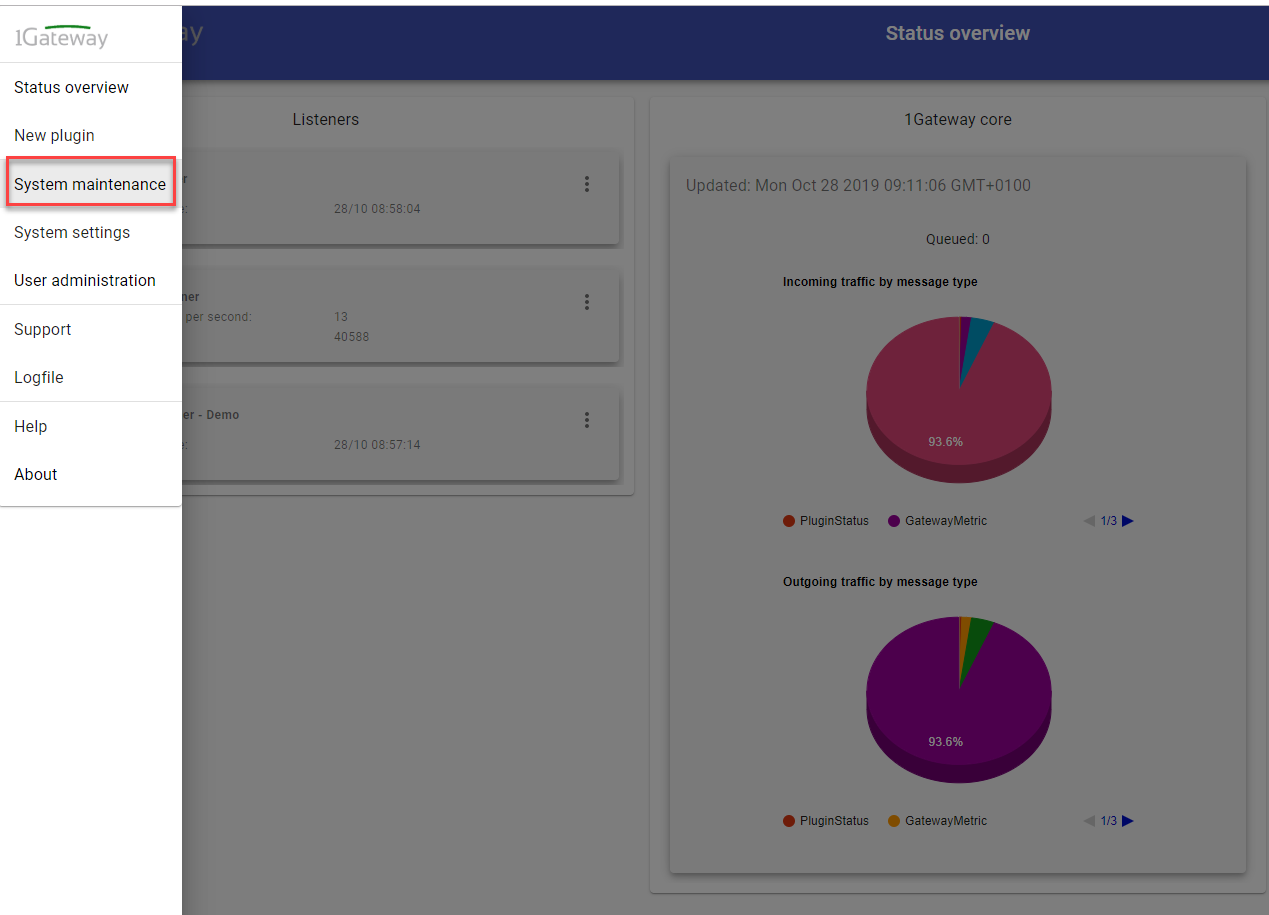
Filters consist of filters and filter components.
![]()
Filter components apply to a single message field. The following operators are available:
- Greater that
- Greater or equal than
- Equals
- Less or equal than
- Less than
- Starts with: if the message string starts with the condition value.
- Contains: if the message string contains the condition value.
- Exists: if a field is present in a message.
All of these operators can be negated by applying a NOT.
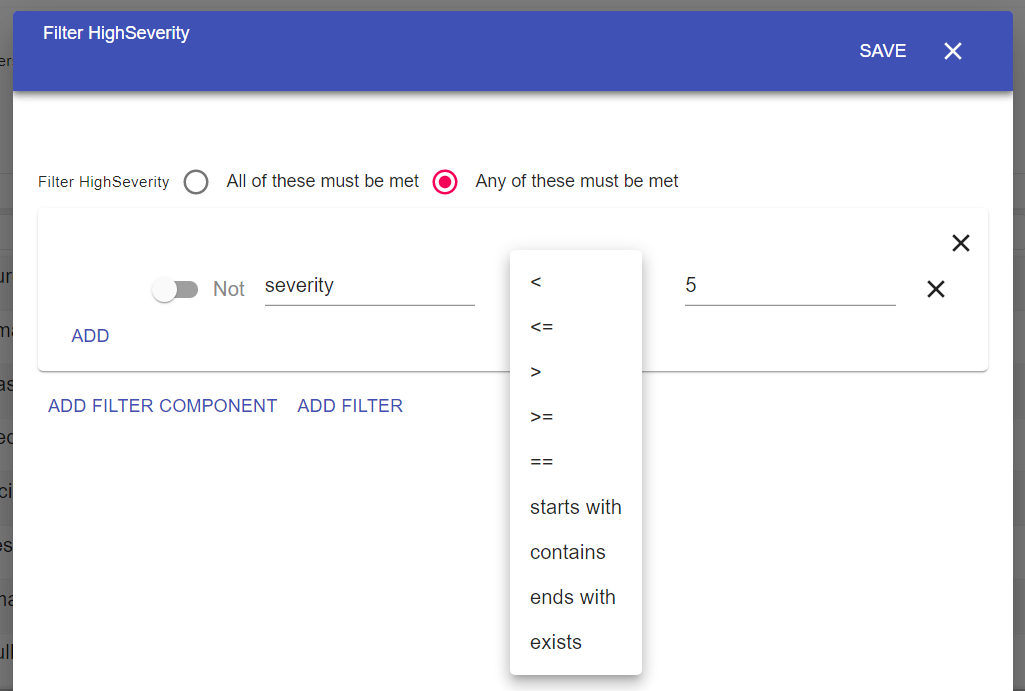
A filter consist of one or more filters or filter components joined by the logical operators AND and ORs in a normal form.
The example below is a filter that consists of alarms with a severity higher than 4 or metrics with type "cpu".
You can either apply an existing filter or create a new one.
Apply a existing filter
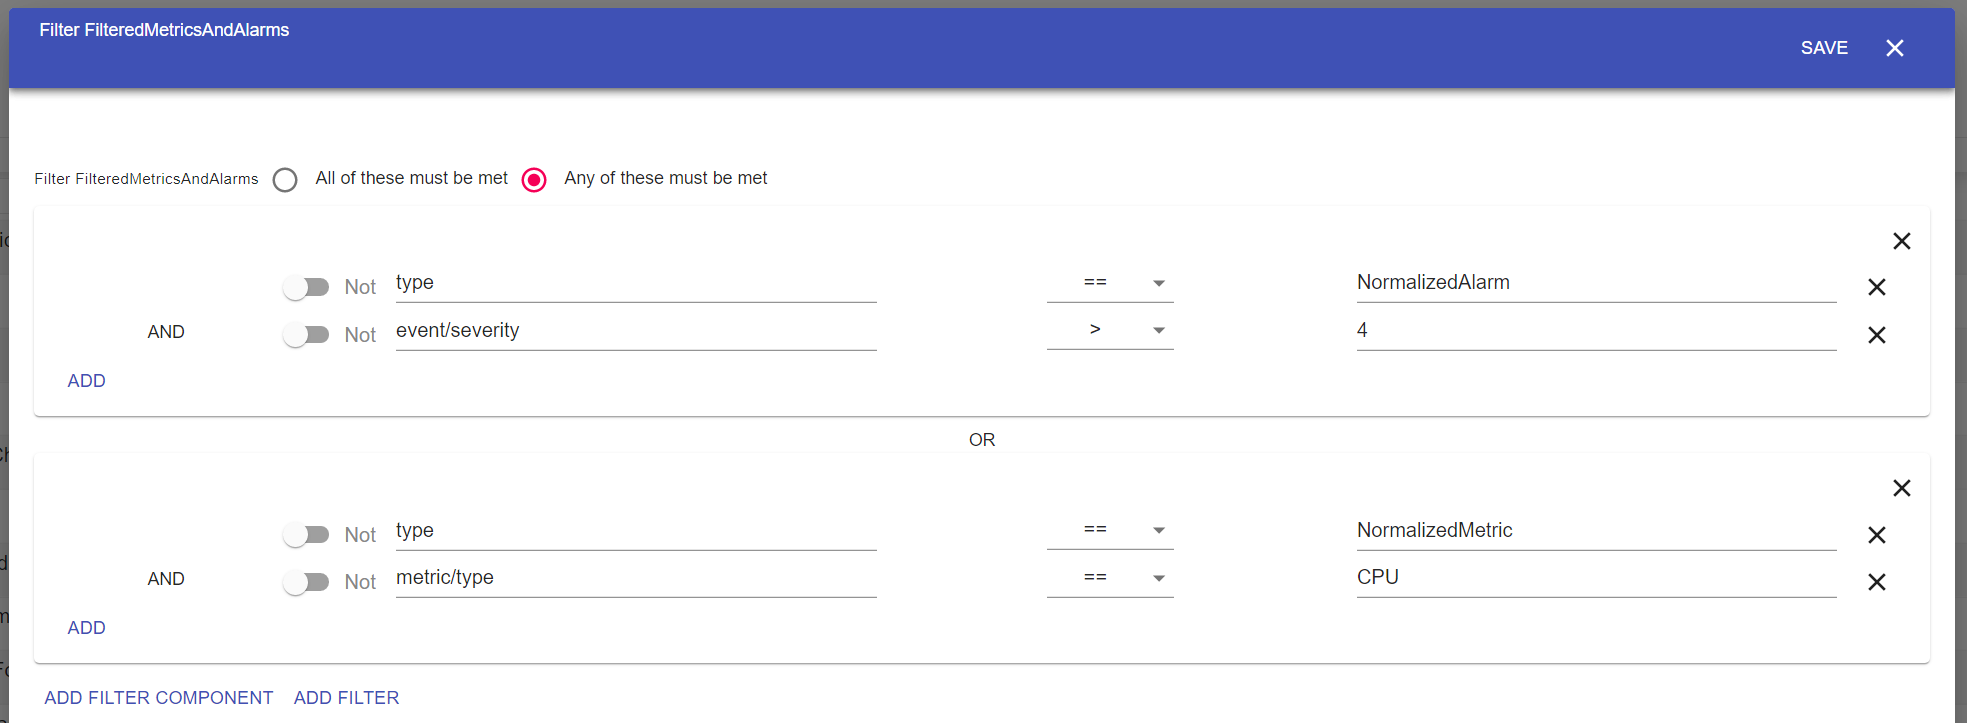
In this example we apply an existing filter to a sender plugin.
- On the Status overview page edit the desired sender plugin
- Click on "Add Filters" on the configuration menu of the sender plugin

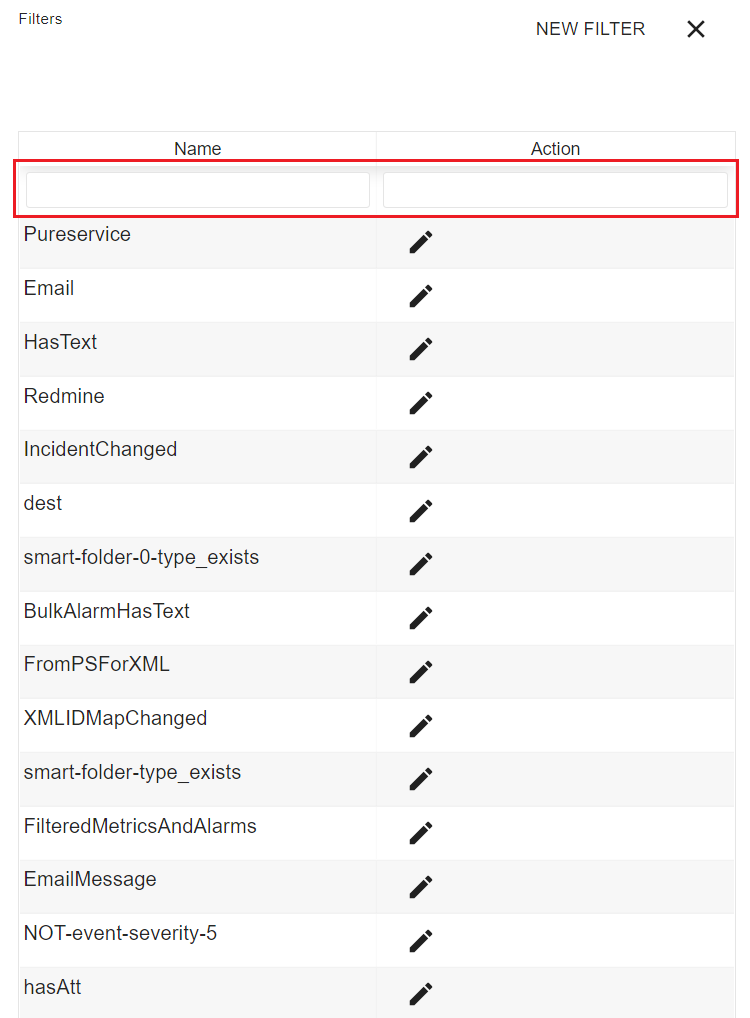
A pop up shows all available filters. Look for the filter you want to apply and click on the filter name to assign it to the configuration. Use the row filter on top to find the required filter.

The row filter is case sensitive!
- Save the plugin configuration
Create a filter
In this example we create a filter for a sender plugin.
- On the Status overview page edit the desired sender plugin
- Click on "Add Filters" on the configuration menu of the sender plugin
- A pop up shows all available filters. Click on "New Filter" to create a new filter
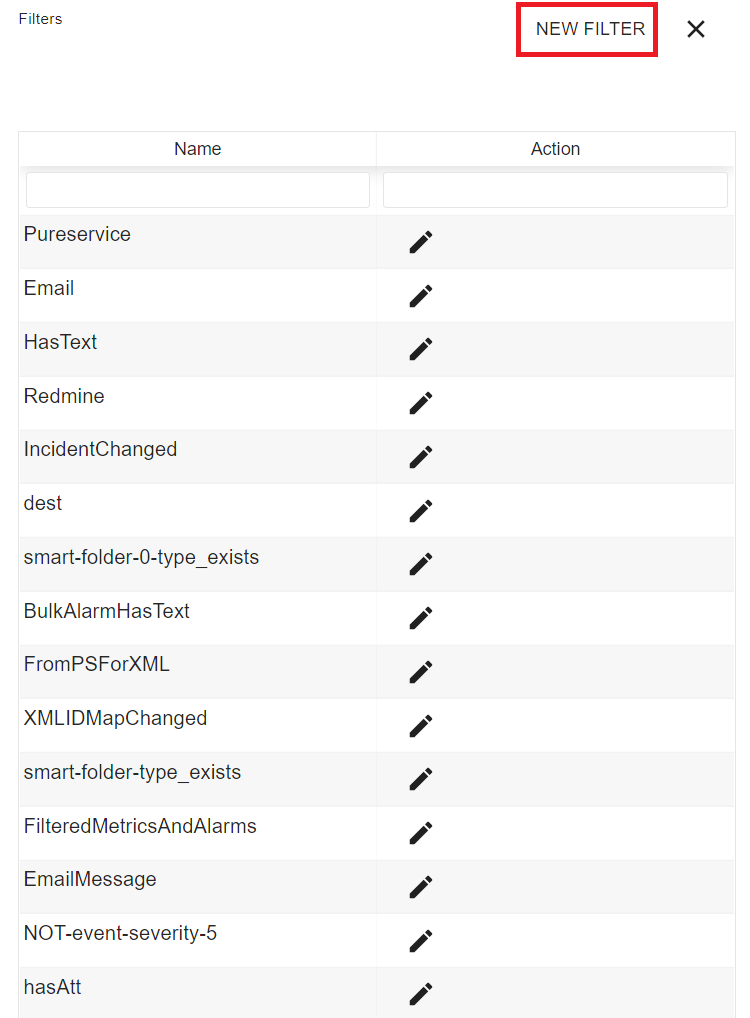
- Define the filter and save it
- Save the plugin configuration
Edit a Filter
Edit a filter by clicking on the pencil icon on a filter. After editing it, click on the save button.
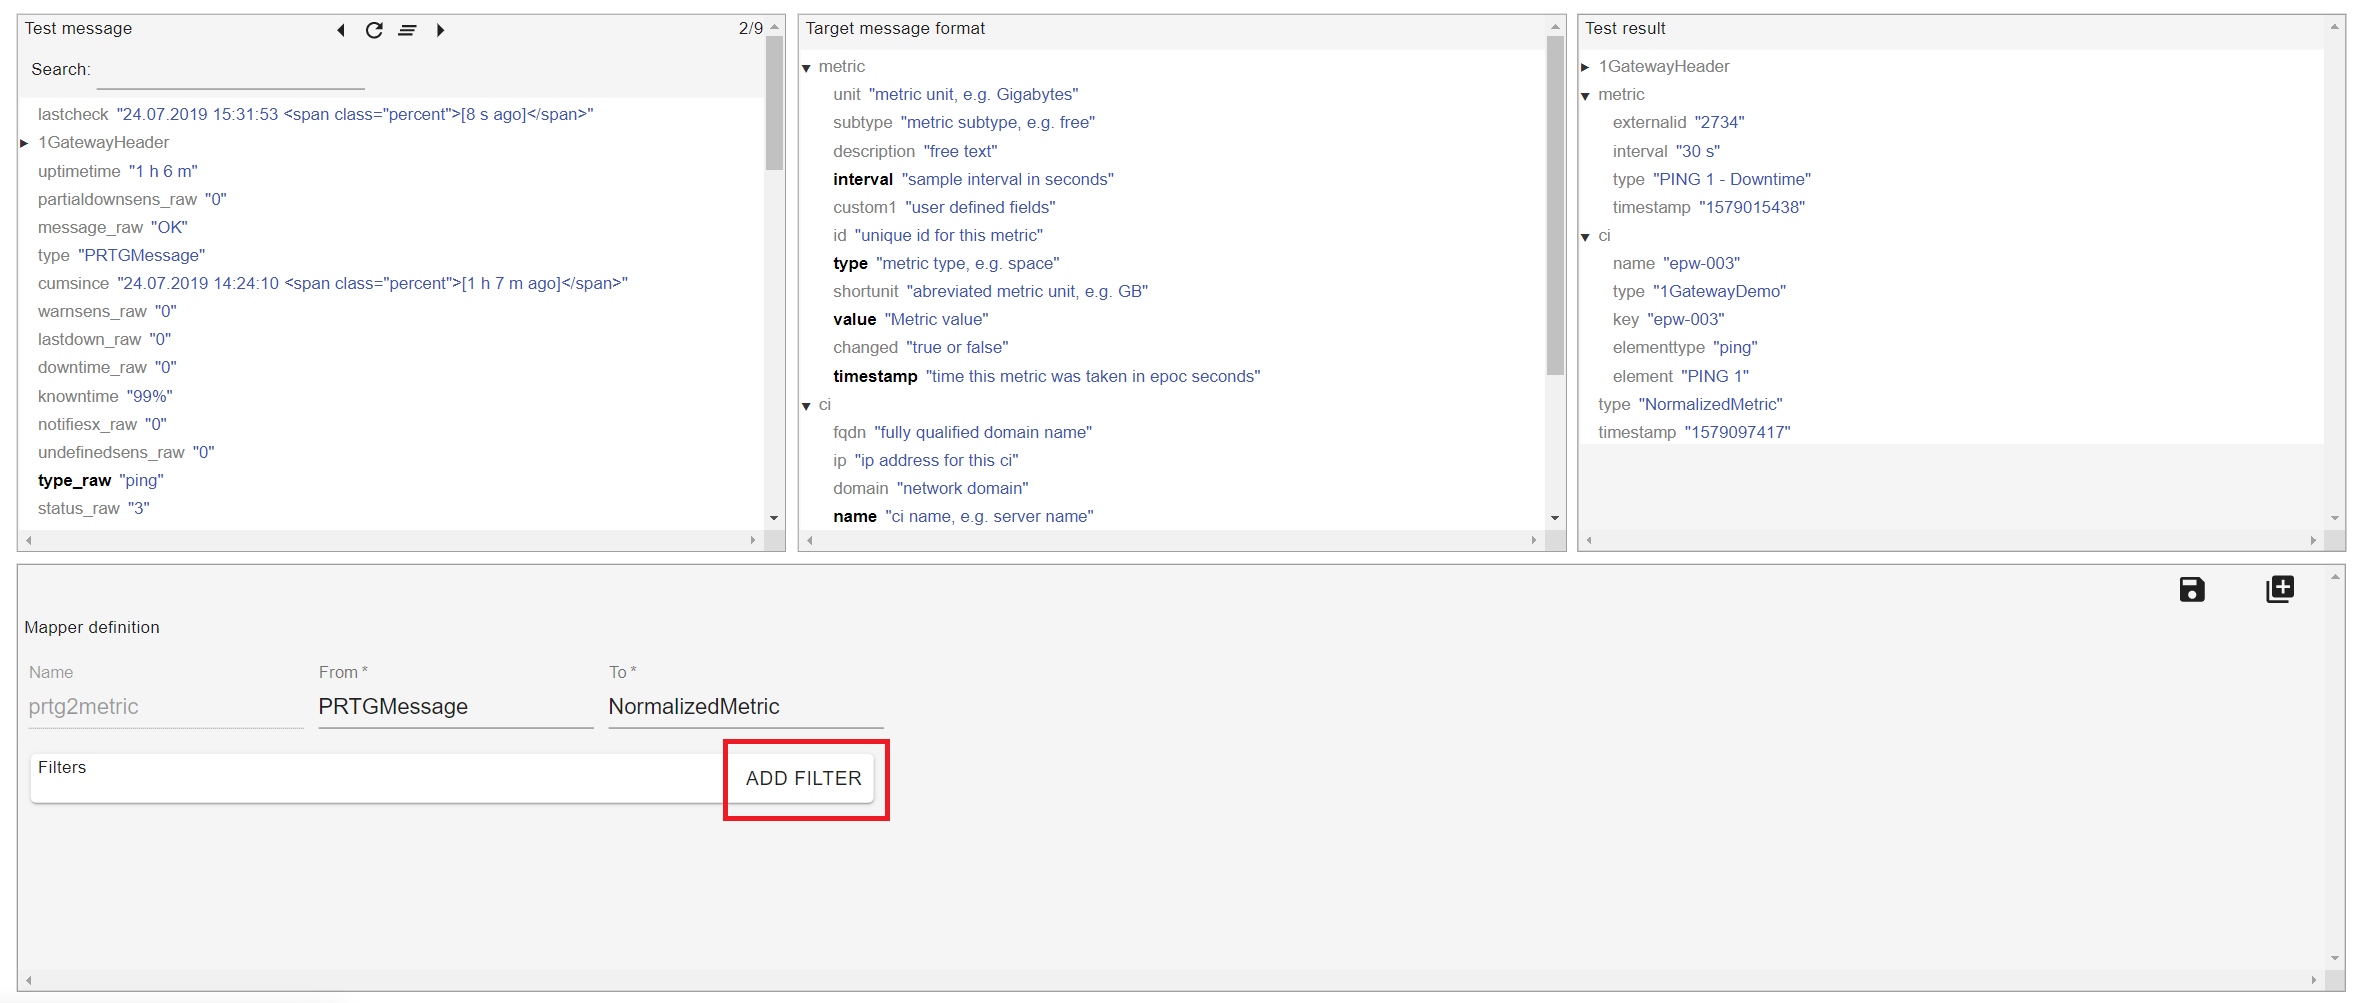
Adding filters to mappers
To add a filter or rule to a mapper, click on the Add filter button and select one from the list or configure a new one.
Adding filters to mappings
To add a filter or rule to a mapping, click on the filter icon ![]() and then on the Add filter button.
and then on the Add filter button.

Manage filters
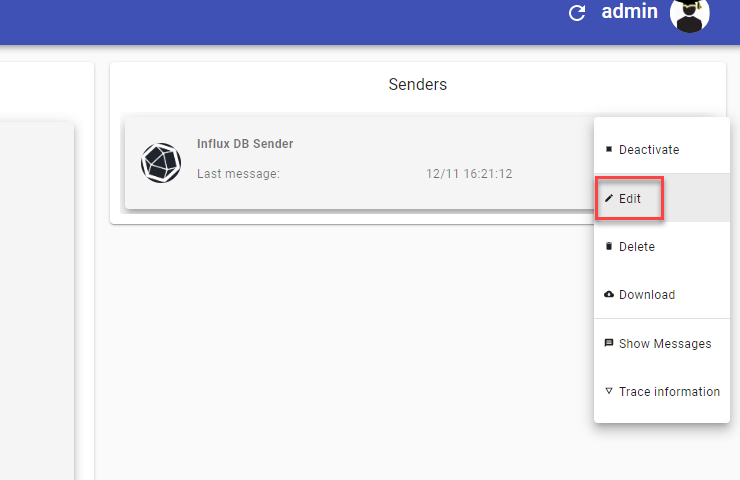
Filter configurations are stored centralized. You can manage filter configurations in the System maintenance menu.
You need to be in the advanced user mode to manage filters.
Click on the Menu Icon and choose the option "System maintenance".