External tools can integrate into the 1Gateway system using "pull" (polling) or "push" (webhook) mechanisms, for sending data to as well as receiving data from 1Gateway.
Sending data into 1Gateway
1. Push (webhook)
To push data into 1Gateway, use http POST requests to the /ws/rest/send endpoint, specifying an API token on the url. For more detail see Web Application Server.
Method
Request
http://localhost:8090/ws/rest/send?token=
TEXT
Body
{
"element" : "myelement",
"source" : "MyPC",
"value" : 42,
"ts" : 1522831644,
"type" : "ExternalMetric"
}
TEXT
The body needs to be JSON and will be parsed as one message. A mapper can be used to normalize it.
2. Pull (poll an external web service)
The generic Groovy poller plugin polls an external web service and publishes the response to 1Gateway. This plugin configures a polling interval (defined in the configuration, 300 seconds by default) and the script to run. Responses can be JSON or XML, and are parsed into one or more messages.
Receiving data from 1Gateway
1. Push (webhook)
To push data out of 1Gateway into an external url, configure the generic Groovy sender plugin. Messages can be transformed to JSON and sent to an external target. It is also used to send messages from one instance of 1Gateway to another, allowing inter-gateway communication.
For more information on Groovy plugins click here.
2. Poll
The queue sender plugin sends messages to a queue in 1Gateway to be polled externally. The configuration of the queue sender includes a queue name, that will be used in the URL polled and the message type stored in the queue.
For a QueueSender with a queue name of "1GatewayQueue" the URL will be:
http://1Gateway-server:8090/ws/rest/queue/1GatewayQueue/?token=***
This will poll all messages currently in the queue.
To poll the queue with a specific number of messages, for example a hundred messages:
http://1Gateway-server:8090/ws/rest/queue/1GatewayQueue/100?token=***
Getting an API token
For each User an
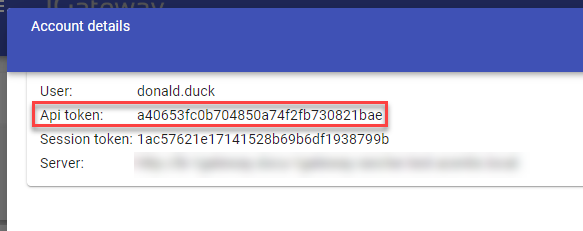
API token is generated. The API token is needed for some plugin configurations. Follow the steps below to access the API token.
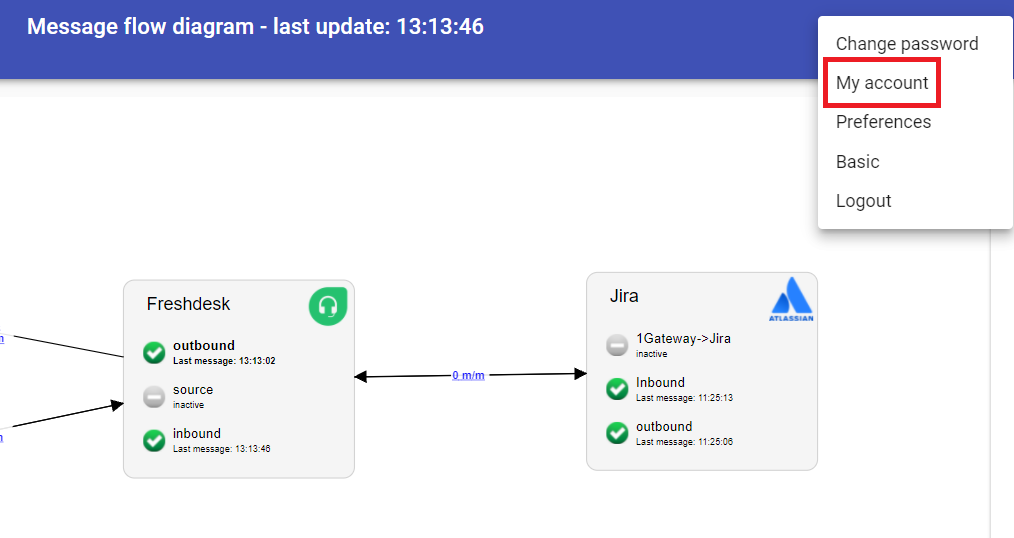
- Choose the option "My Account" in the Account Menu

- Copy the API Code and past it wherever you will need it
