APM to Dynatrace
Step-by-step
- Install 1Gateway
- Install plugins and licenses package
- Restart 1Gateway
- Configure Dynatrace Sender plugin
- Configure Servicetrace APM Listener plugin
Overview
The Servicetrace APM - Dynatrace integration uses two plugins:
The Dynatrace sender inserts external tests and its results into Dynatrace using the External Synthetic API.
Installation
First install 1Gateway:
This documentation is for the on-premise edition of 1Gateway. The SaaS edition is documented in the customer portal.
Requirements
Minimum installation requirements are:
- Java 1.8
- MySQL 8
- 2 CPU cores
- 8GB RAM
- 4GB free disk space
For a busy production system we recommend 16GB RAM and 4 CPU cores.
The UI is supported on Google Chrome and Firefox.
1Gateway is packaged in three different ways:
- as a windows installer
- as a zip file
- as a Docker image
Docker installation
To install 1Gateway as a Docker container (including mysql), run this command (docker-compose.yaml is located in the 1Gateway Root Directory):
docker-compose upFor the next steps, jump to plugin and license installation
Zip installation
To install 1Gateway from the zip file, simply extract the zip file to a folder of your choice and run the startup shell script. For the next steps, jump to plugin and license installation
Windows installation
As a user with administrator rights, run the Windows installer. The installer package for windows is called 1Gateway-2.3-[buildinfo].exe.
Run 1Gateway-2.3-buildinfo.exe
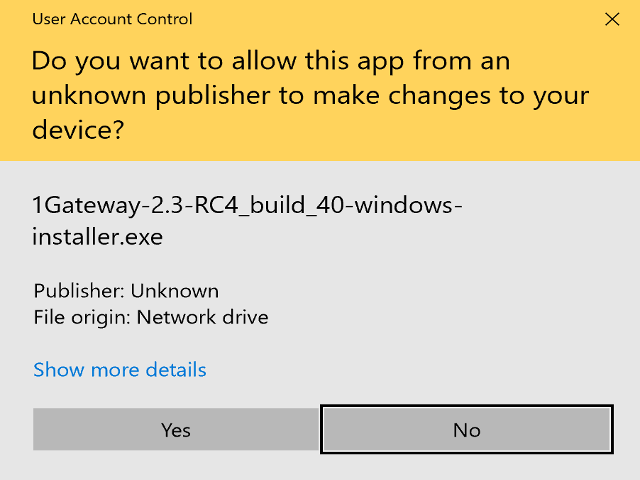
If this window appears, click on Yes
Accept the EULA
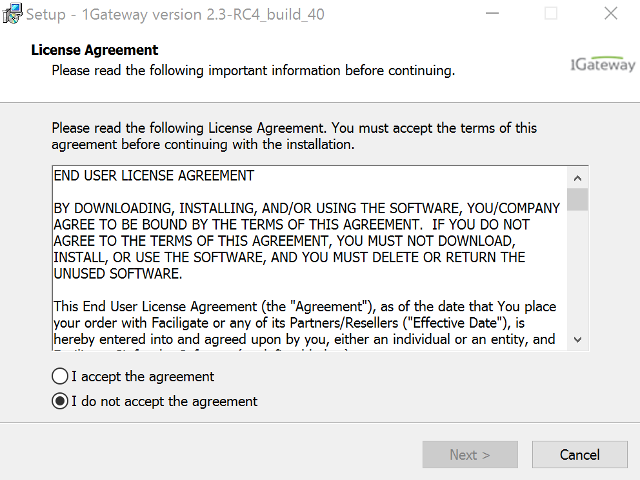
Accept the 1Gateway EULA
Select folder
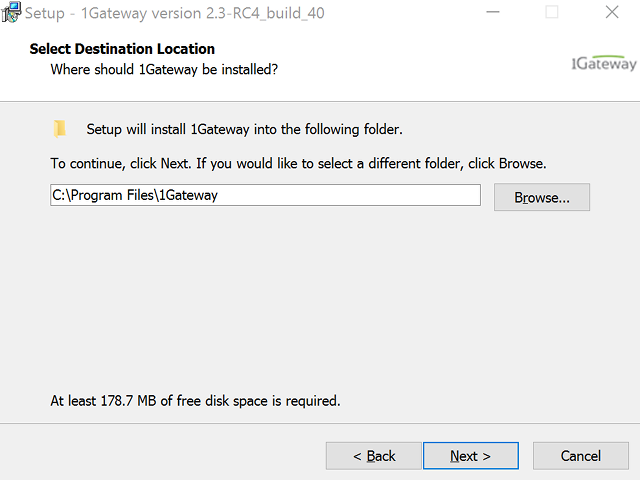
Next
Install
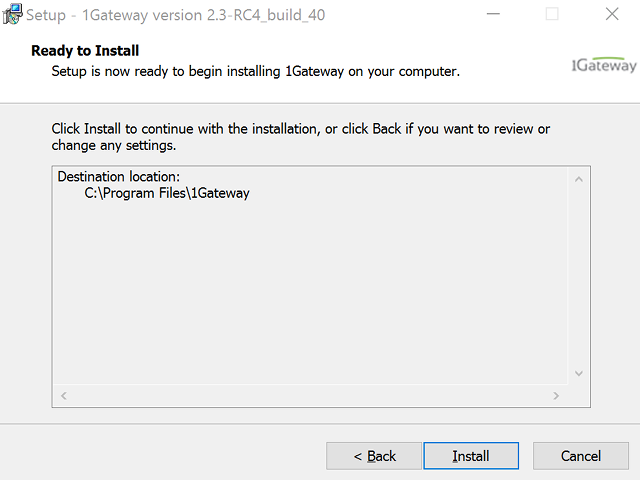
Click on "Install"
Watch progress
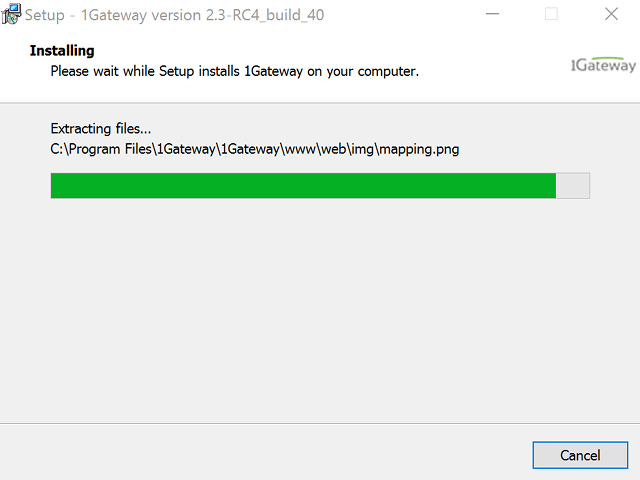
Pay close attention to the progress bar as it inches to completion
Finish
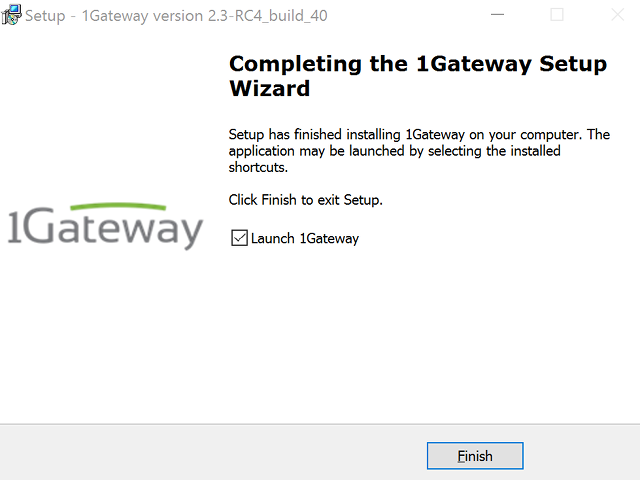
1Gateway is now installed and running as a service.
Log in to 1Gateway
Launch a browser, preferably Chrome, and navigate to http://your-1gateway-server:8090. Login as user admin, password admin.
Install plugins and licenses
Make sure you have the 1gateway zip file that includes the plugin files and valid licences information ready. This file has been provided to you with the installation files.
1 - Login

Login to 1gateway, and make sure you are in "Advanced mode". If this is the first time you log in, the default user and password are both 'admin' (without the quotes).
2 - System Maintenance

Click on the menu icon and choose the option "System maintenance"
3 - Upload file

In the System maintenance view you can either drag and drop the downloaded zip file or selected it by clicking the "choose file" button.
4 - Restart

After the upload installation will be confirmed. Restart 1Gateway to ensure any locked files are updated.
Configure the plugins
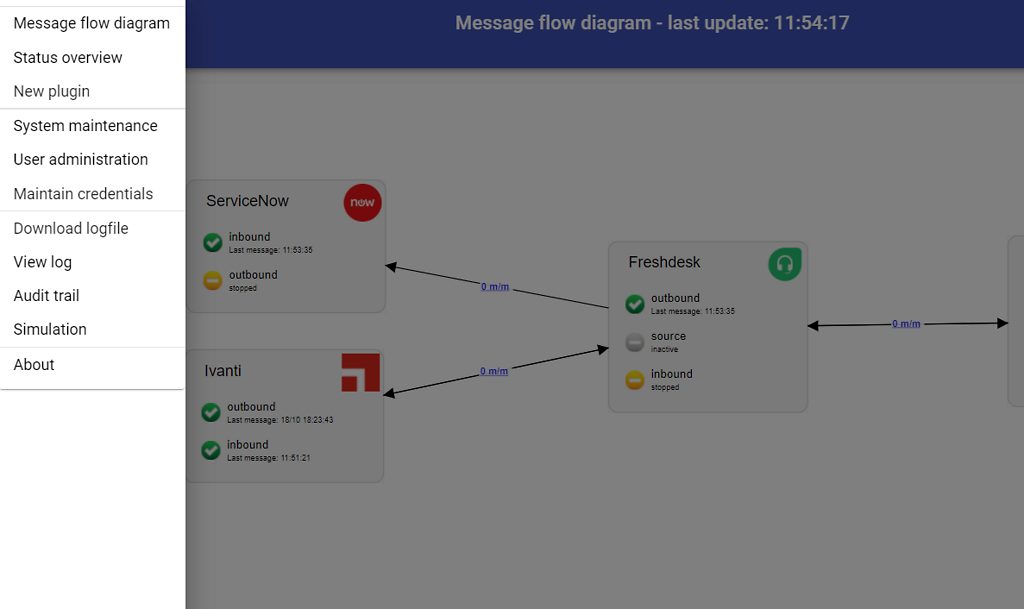
Open the main menu and click on "New plugin"
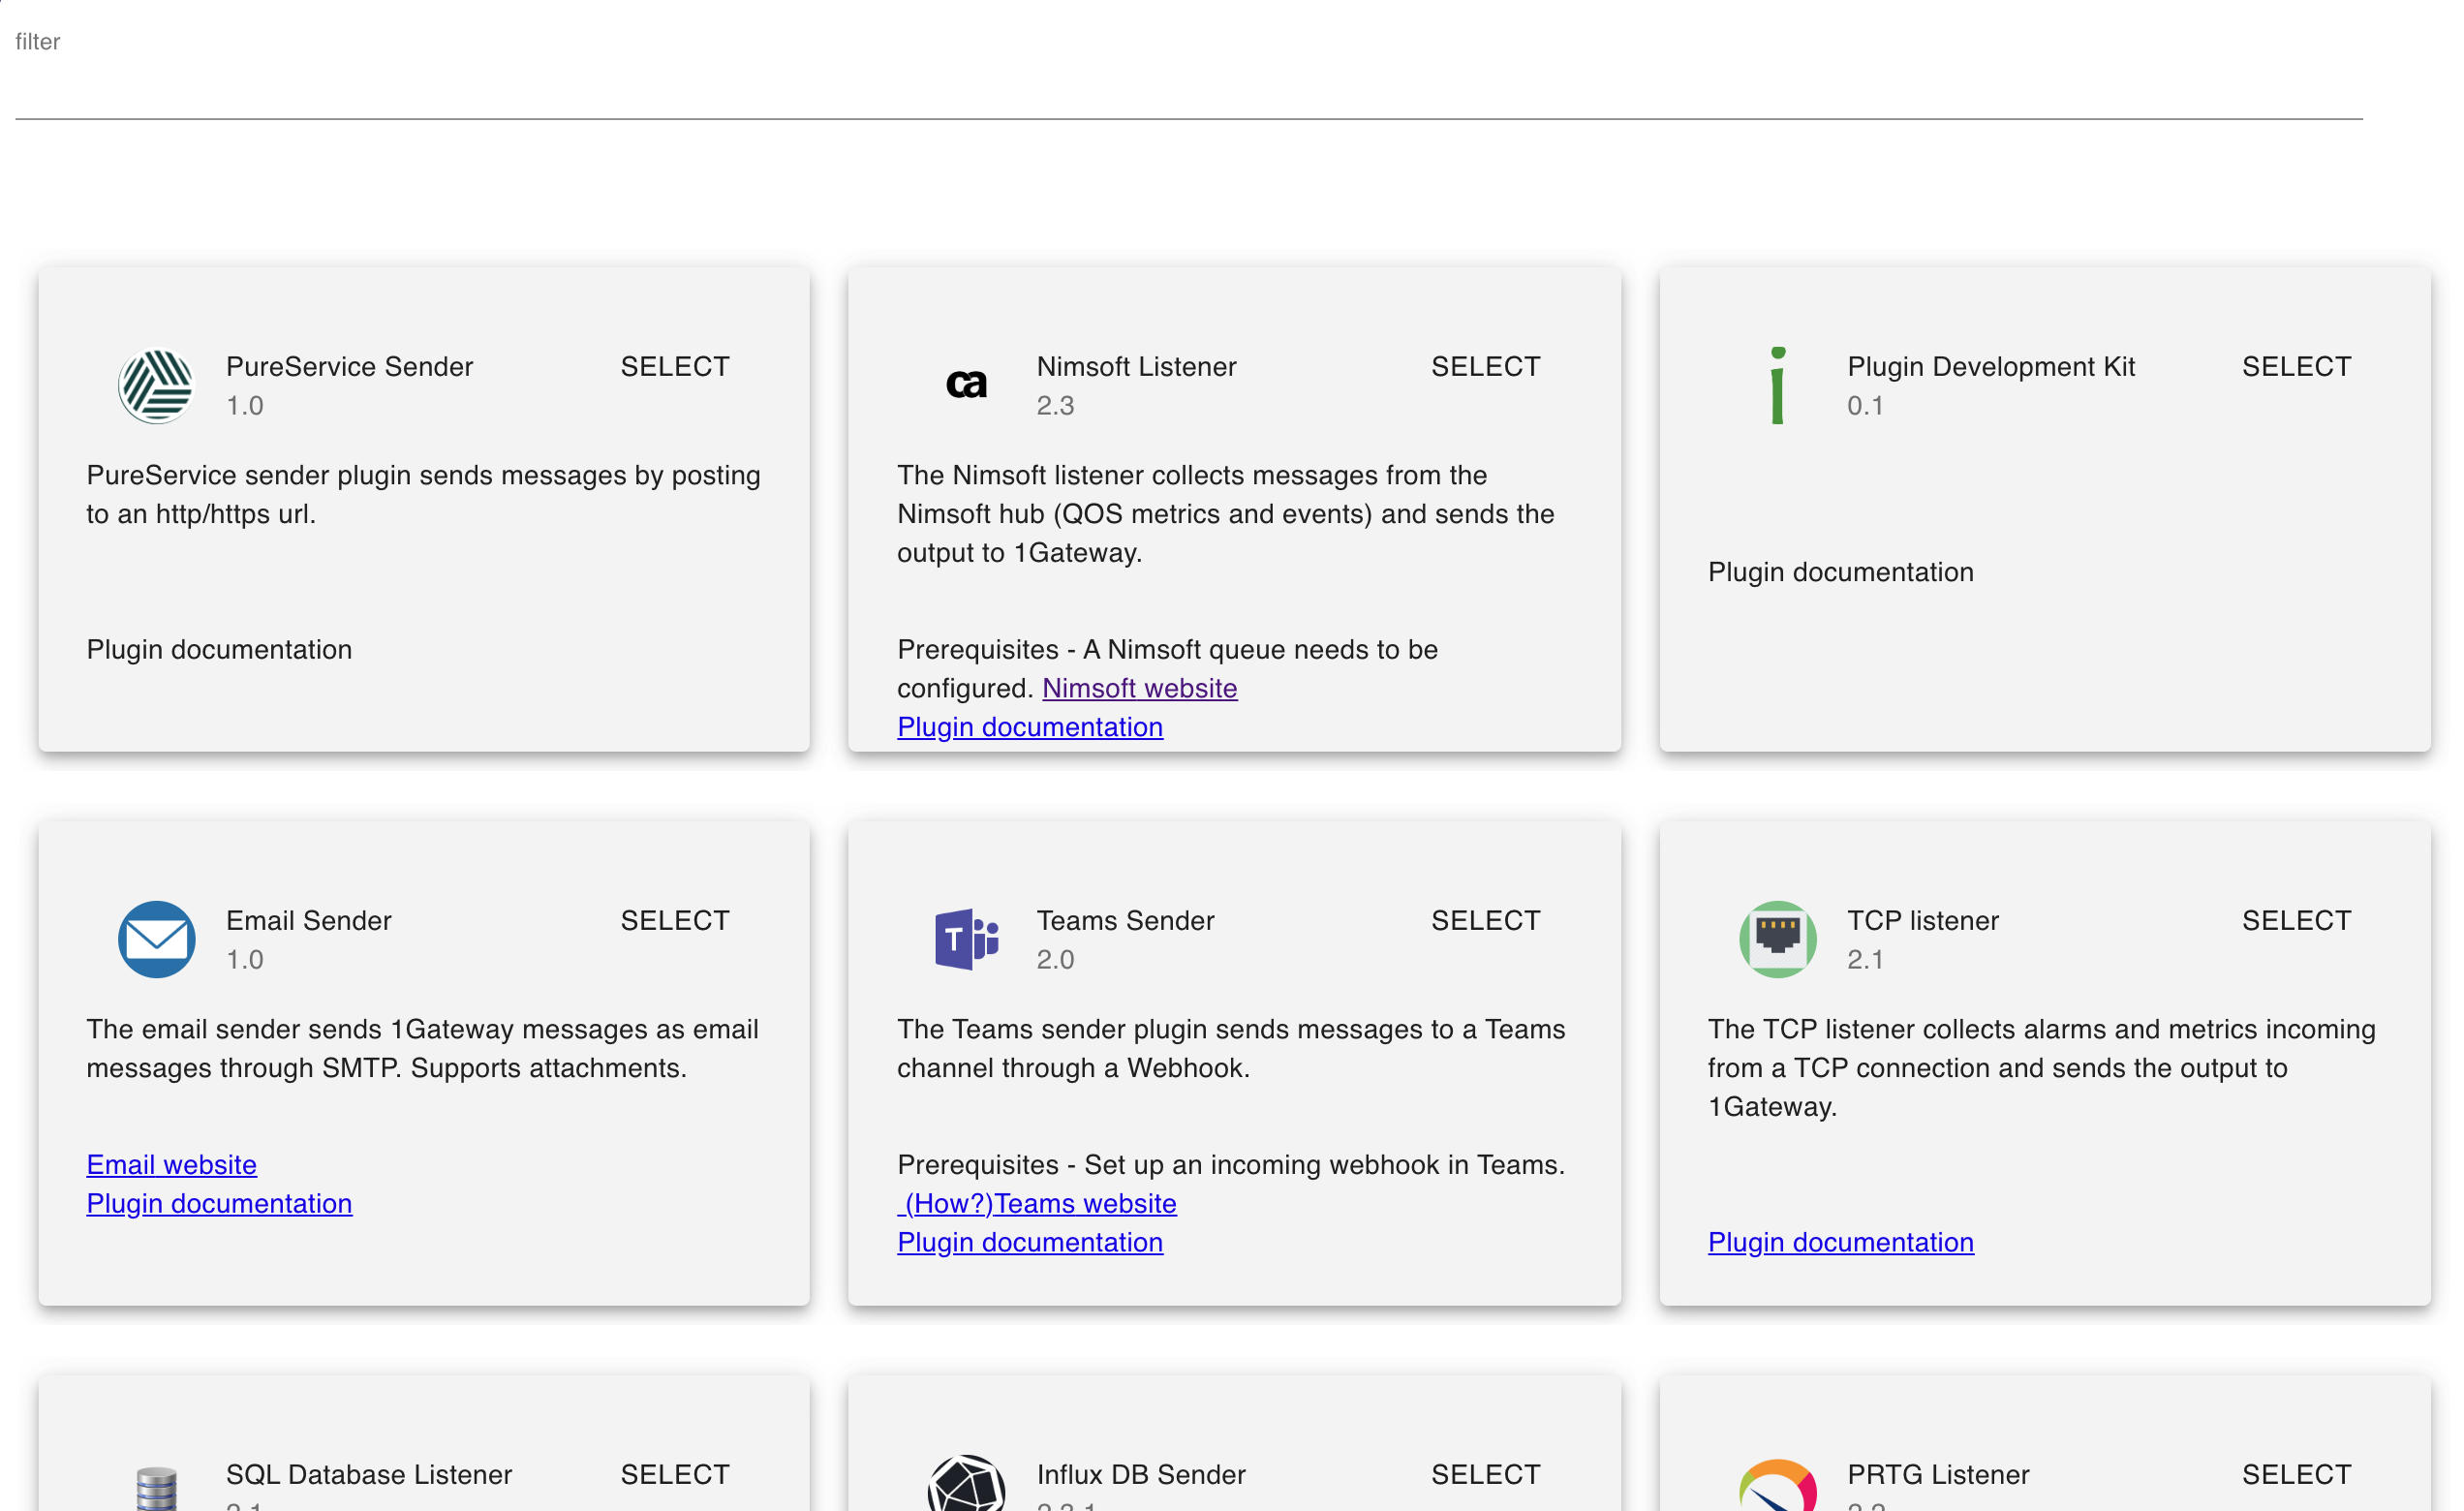
Select the plugin you want to configure. Use the Filter field if needed.
Dynatrace Sender
Enter the name of your Dynatrace server and click on “PROFILES” at the top to configure your customer environments.
Click on “ADD PROFILE” to configure your first environment.

CAUTION: The name you enter in the profile needs to be exactly the same as the name of the customer defined in APM!
Field name | Supported values | Description |
|---|---|---|
Dynatrace server | URL to Dynatrace Instance | Dynatrace server. |
API Key | Any string | Dynatrace API key |
NOTE: Known issue – the TEST button does not work, and always returns “Test failed”. This does not indicate that the environment is incorrect. This issue will be resolved in a future release.
NOTE: The outbound message that is sent to Dynatrace needs to contain an "enviroment" key with the name of the plugin profile defined. This can be changed in the Dynatrace sender mapper
Servicetrace APM Listener

Field name | Default/suggested value | Description |
|---|---|---|
| Database configuration fields | ||
| Use database? | True / false | If true, the plugin will poll for data from the APM database directly. If false, it will poll for the data through the Servicetrace APM REST API. If true, configure the database configuration fields, otherwise they can be left blank. |
| Use windows authentication? | True / false | If true, uses windows authentication in the JDBC connection string (appart of the sandard SQL authetication fields set, integratedSecurity, authenticationScheme and domain are also set) If false, uses SQL authentication in the JDBC connection stirng (only sets dsatabaseName, UserName and Password) |
| Database host | n/a | Host of the SQL server used the Servicetrace APM |
| Database domain | n/a | Only used in "Use windows authentication?" flag is set. Domain used for authentication |
| Database user | n/a | Username used for SQL / windows authentication |
| Database password | n/a | Password of the user used for SQL / windows authentication |
| Database name | n/a | Name of the database to connect to |
| Field parameter | id | Name of the identification field in the message |
| Field default value | 1 | Default value of the identification field in the message. Only used in first poll. |
| Servicetrace APM configuration fields | ||
Servicetrace server | n/a | Servicetrace server or IP |
API Key | n/a | Servicetrace API Key |
| URI Schema | http | |
| Maximum delay in APM data (minutes) | 5 | The maximum out of sequence data that we allow for. Should be longer that the longest runtime of any APM script |
| Maximum interval for run results in APM (minutes) | 121 | The longest schedule interval in APM + 1. If APM scripts are run every two hours, then 121 minutes will result in capture of all data. |
| Oldest data to retrieve (hours) | 2 | Always set to two hours when used with Dynatrace. |
| Refresh customers and services every (hours) | 2 | Depends on the frequency that customers are added to APM. We check for new customers at startup. If customers are added frequently, this value should reflect that. |
| Polling interval | 300 | Polling interval in seconds (recommended is 300) |
| SQL query file path | data/catalog/plugins/plugin-stapm-poller/${version}/support_files/query.sql | Path to the SQL query to run in case Use Database? is true |