Checkmk Listener
Description
The CheckMK listener plugins sends metrics and alarms from a CheckMK instance (CheckMK Enterprise Edition) into 1Gateway.
Prerequisites
Sending metrics
- Install the TCP Listener plugin.
- To send metrics from CheckMK to 1Gateway, configure CheckMK to point at 1Gateway.
1Gateway supports the Graphite/InfluxDB protocol format which allows to configure it through the Graphite/InfluxDB integration of CheckMK. To point CheckMK at 1Gateway, go to Global Settings in WATO Configuration section in the left menu. In the section "Monitoring Core" click on "Send metrics to Graphite / InfluxDB".


Sending events
To send events from CheckMK to 1Gateway, a notification script needs to be set up in CheckMK. This script posts the event to 1Gateway through the Web Application Server (Http listener).
Notification Script
To install the notification script, install a new extension package in CheckMK. The extension package can be found in the installation package, at support_files/checkmk/to1gateway-2.0.mkp.
To run the notification script, jq needs to be installed in the CheckMK server. To install jq: https://stedolan.github.io/jq/sh+
To install the extension package, go to Extension packages in WATO Configuration and click upload package.

Upload the to1gateway-2.0.mkp extension package. This includes a notification script.

Notification rule
Set up a notification rule pointing at this script: Go to notifications and click on new rule

Image 2. Accessing the CheckMK notification rules.
Create a notification rule for 1Gateway. In the notification method select "Notify via 1Gateway". The notification rule needs to include the server where 1Gateway is running as the first parameter in the notification method.

Image 3. Setting up a new notification rule for the 1Gateway notification script.
The script will be triggered every time there is a new notification.
Installation
Make sure you have the 1gateway zip file that includes the plugin files and valid licences information ready. This file has been provided to you with the installation files.
1 - Login
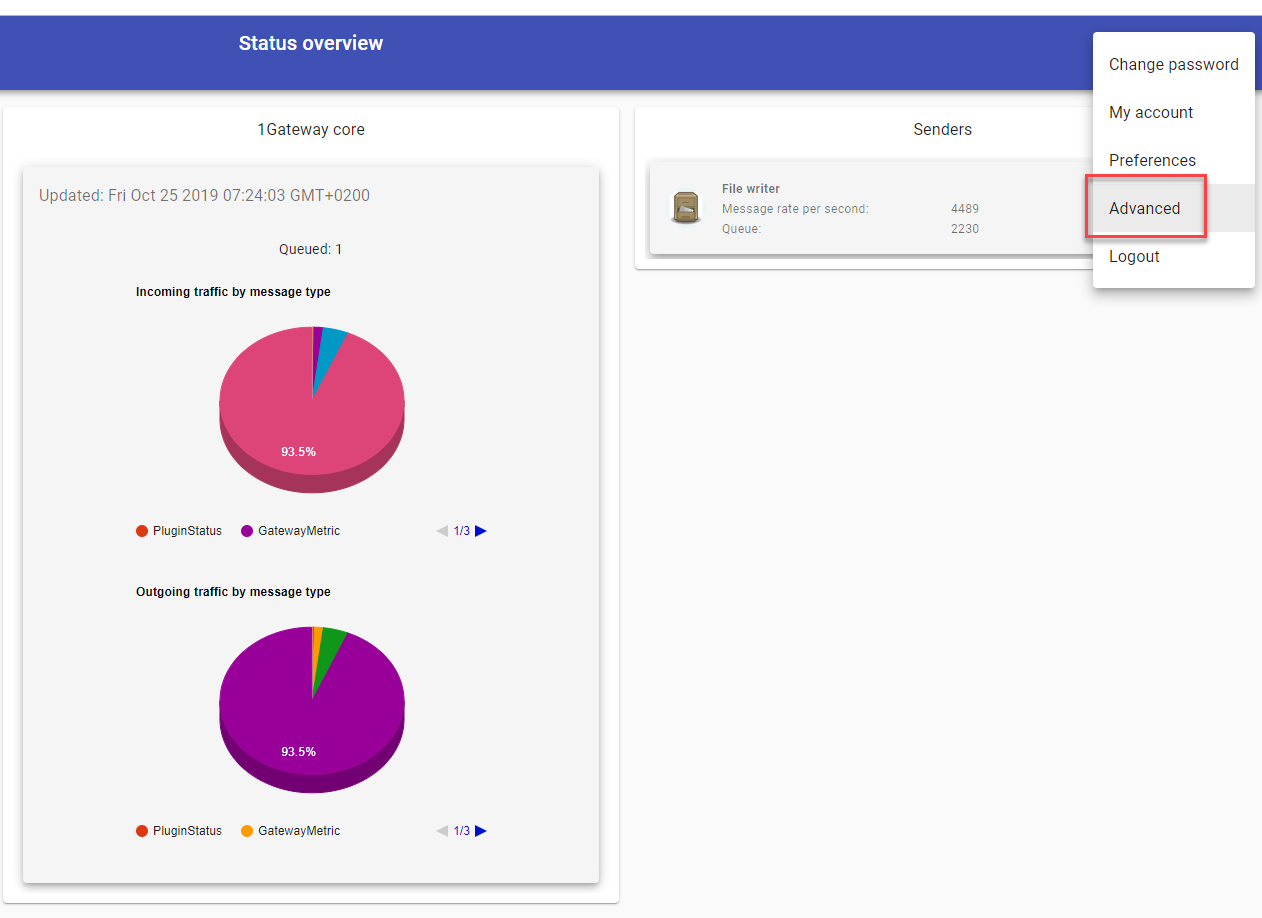
Login to 1gateway, and make sure you are in "Advanced mode". If this is the first time you log in, the default user and password are both 'admin' (without the quotes).
2 - System Maintenance
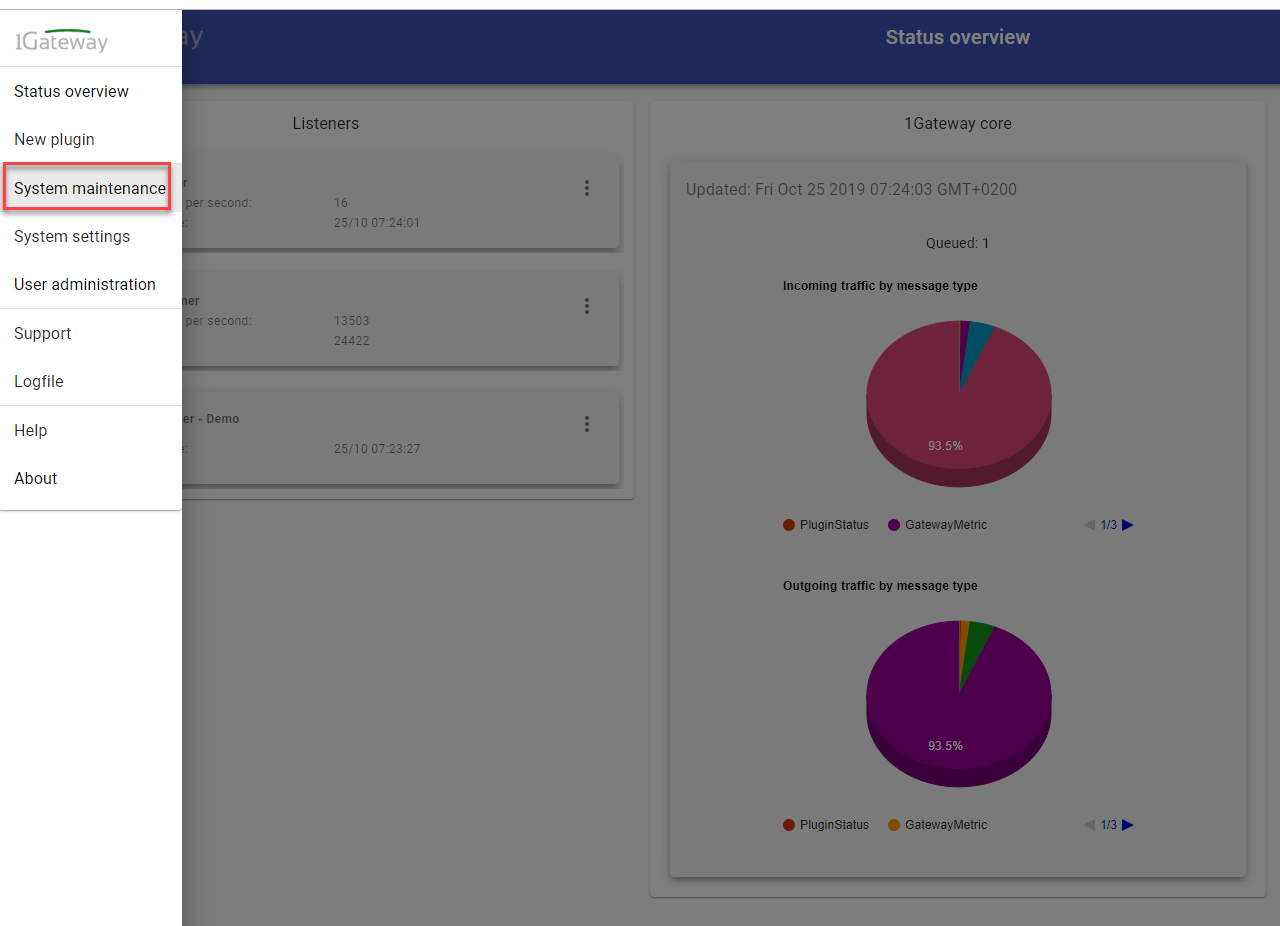
Click on the menu icon and choose the option "System maintenance"
3 - Upload file
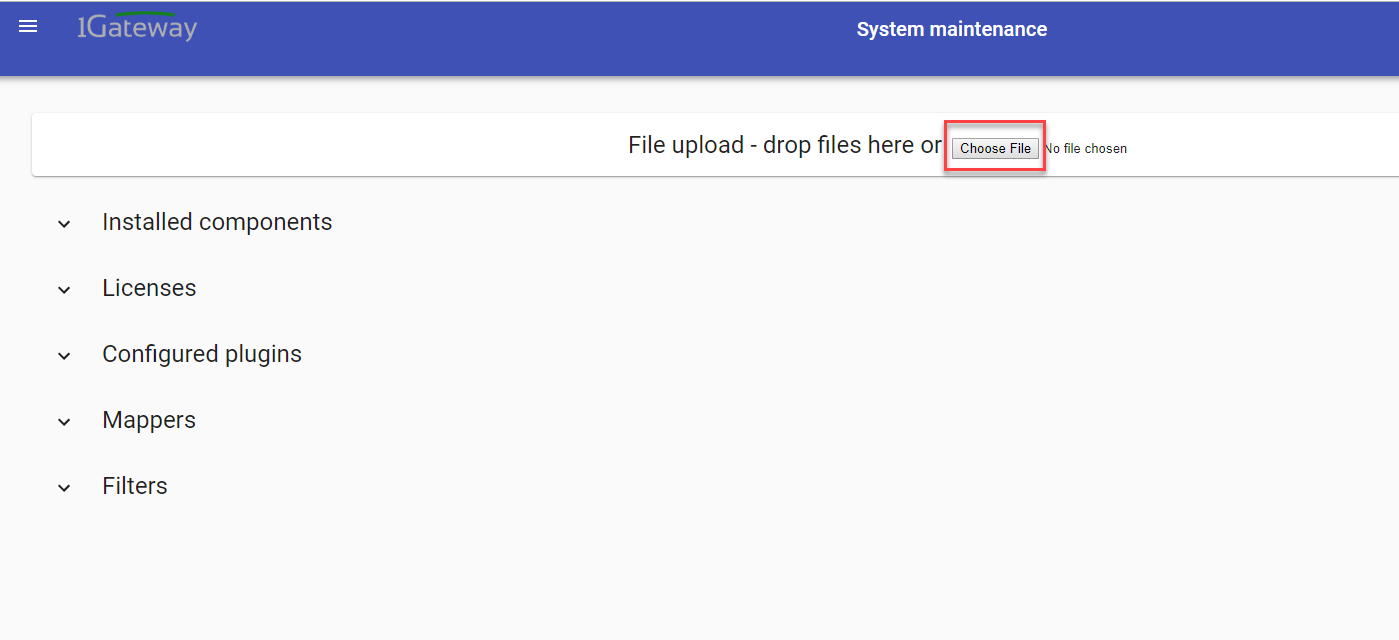
In the System maintenance view you can either drag and drop the downloaded zip file or select it by clicking the "choose file" button.
4 - Restart
After the upload installation will be confirmed. Restart 1Gateway to ensure any locked files are updated.
Configuration
Open the main menu and click on "New plugin"

Select the plugin you want to configure. Use the Filter field if needed.
Sending metrics
To send metrics from CheckMK to 1Gateway, configure a new CheckMK plugin with the port number configured in CheckMK.

Image 4. CheckMK listener plugin configuration.
Sending events
There is no configuration needed to send events into 1Gateway because they are sent through the Web Application Server (Http listener).
Advanced configuration
The advanced configuration of the CheckMK listener plugin includes the message type of incoming messsages from CheckMK to 1Gateway. This message type is used in the mappers to convert the messages CheckMK sends into normalized metrics.