Description
The file writer writes the messages it gets from 1Gateway to a file.
Prerequisites
- The file path defined in the configuration needs to have permissions to write
Installation
1 - Login
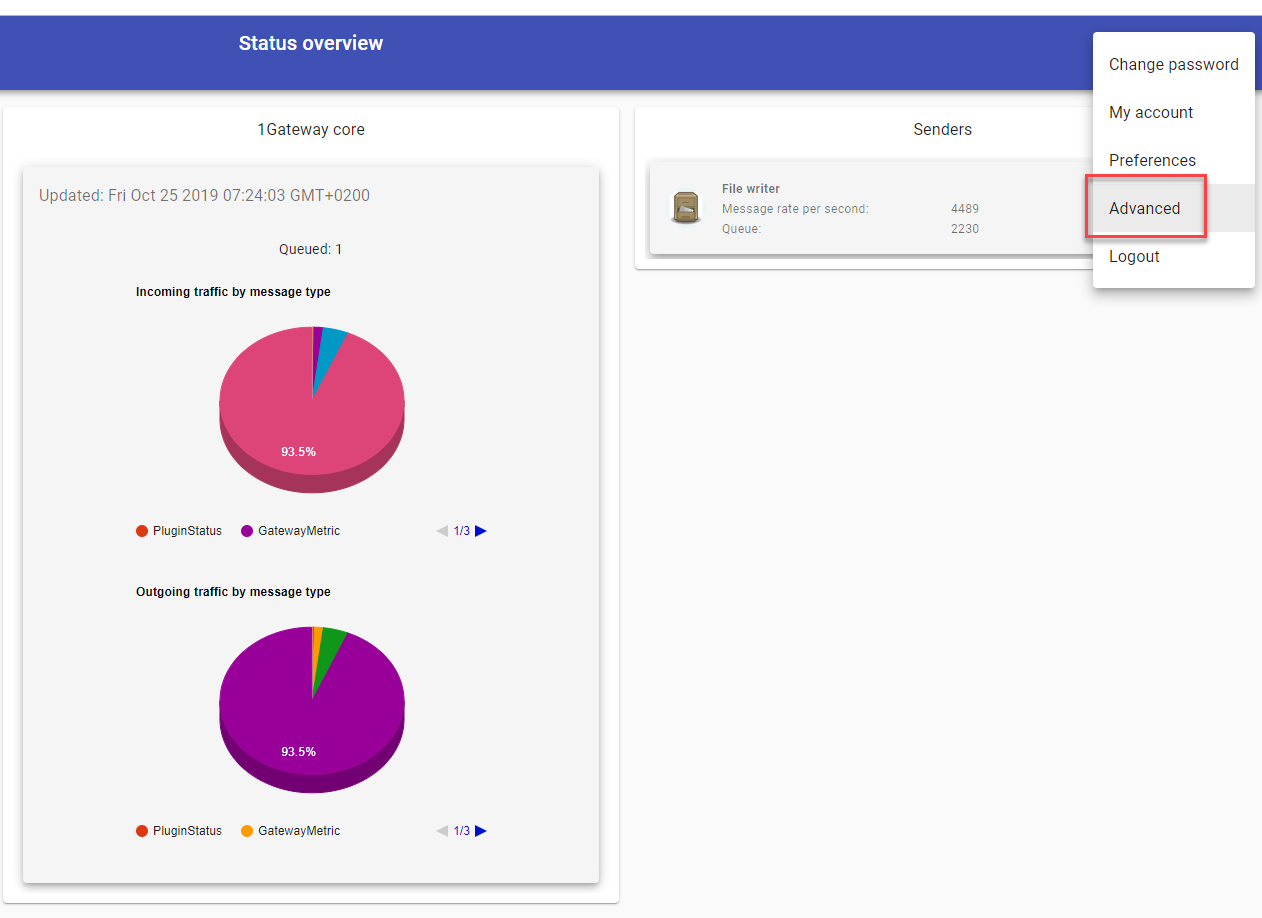
Login to 1gateway, and make sure you are in "Advanced mode". If this is the first time you log in, the default user and password are both 'admin' (without the quotes).
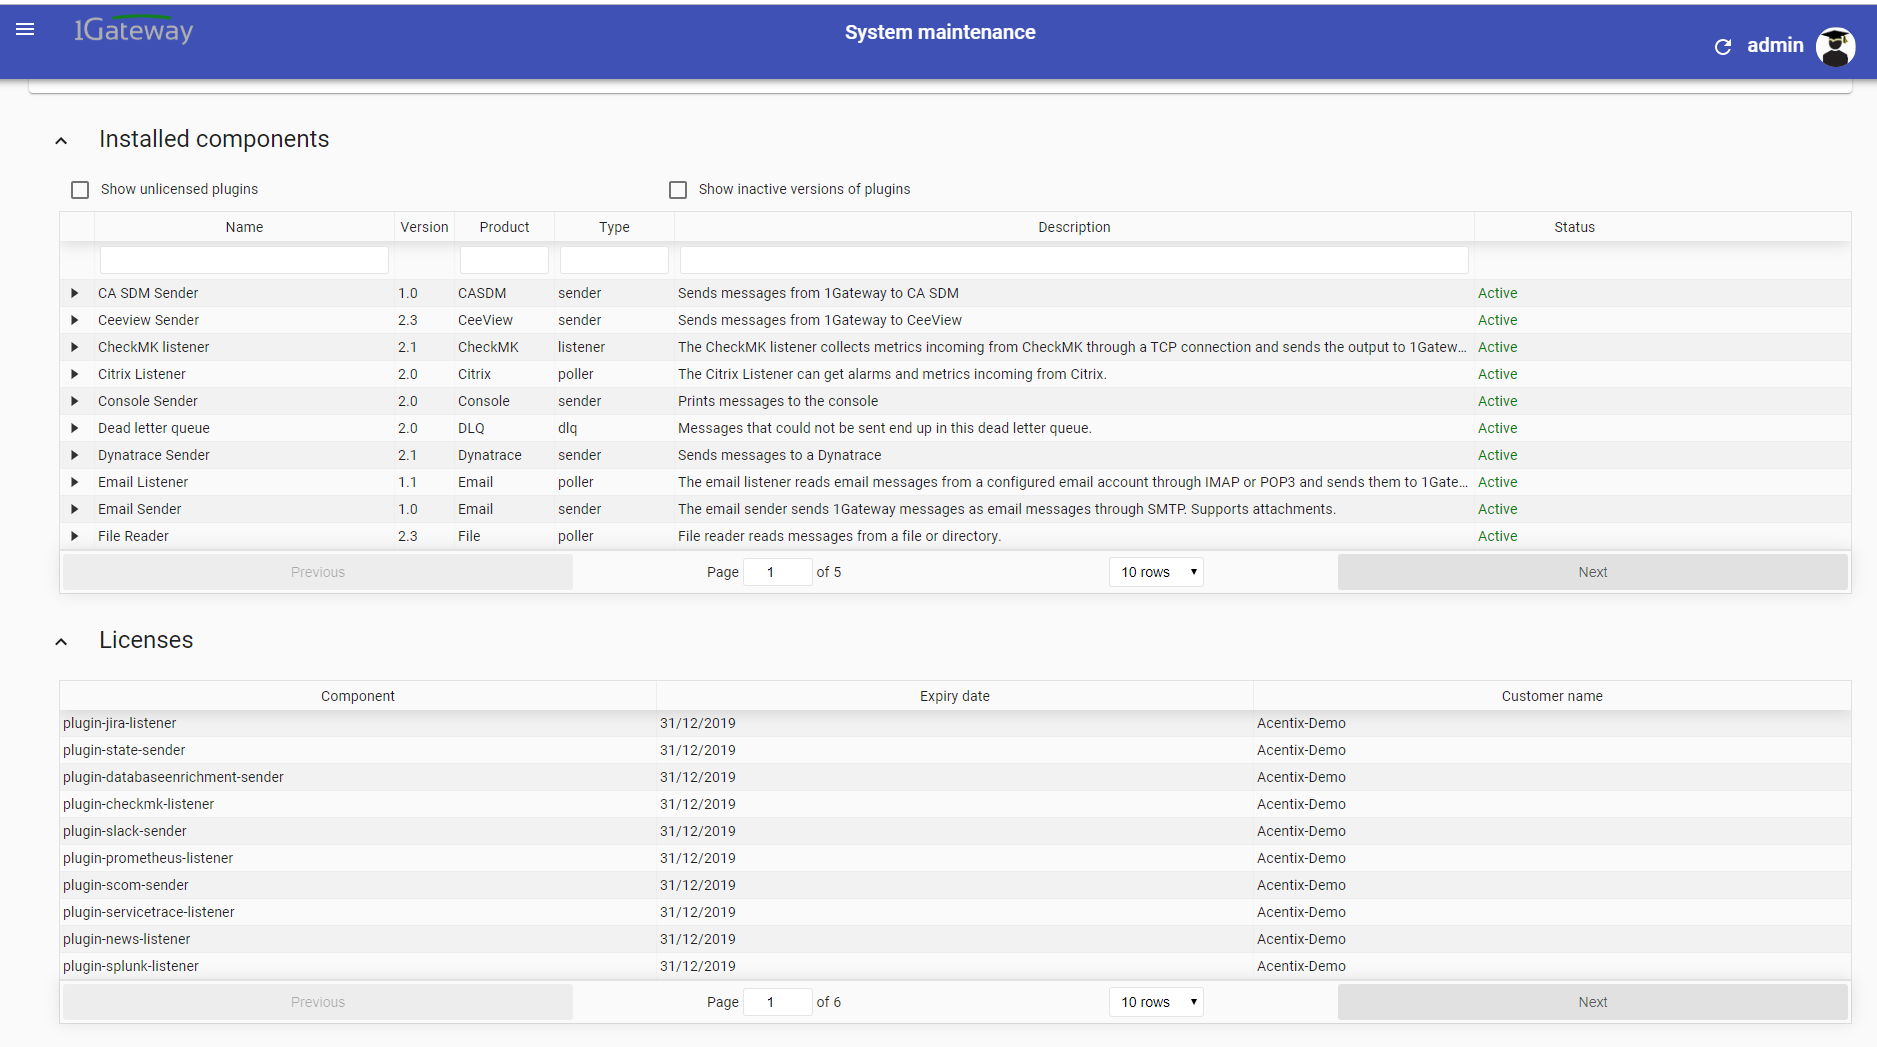
2 - System Maintenance
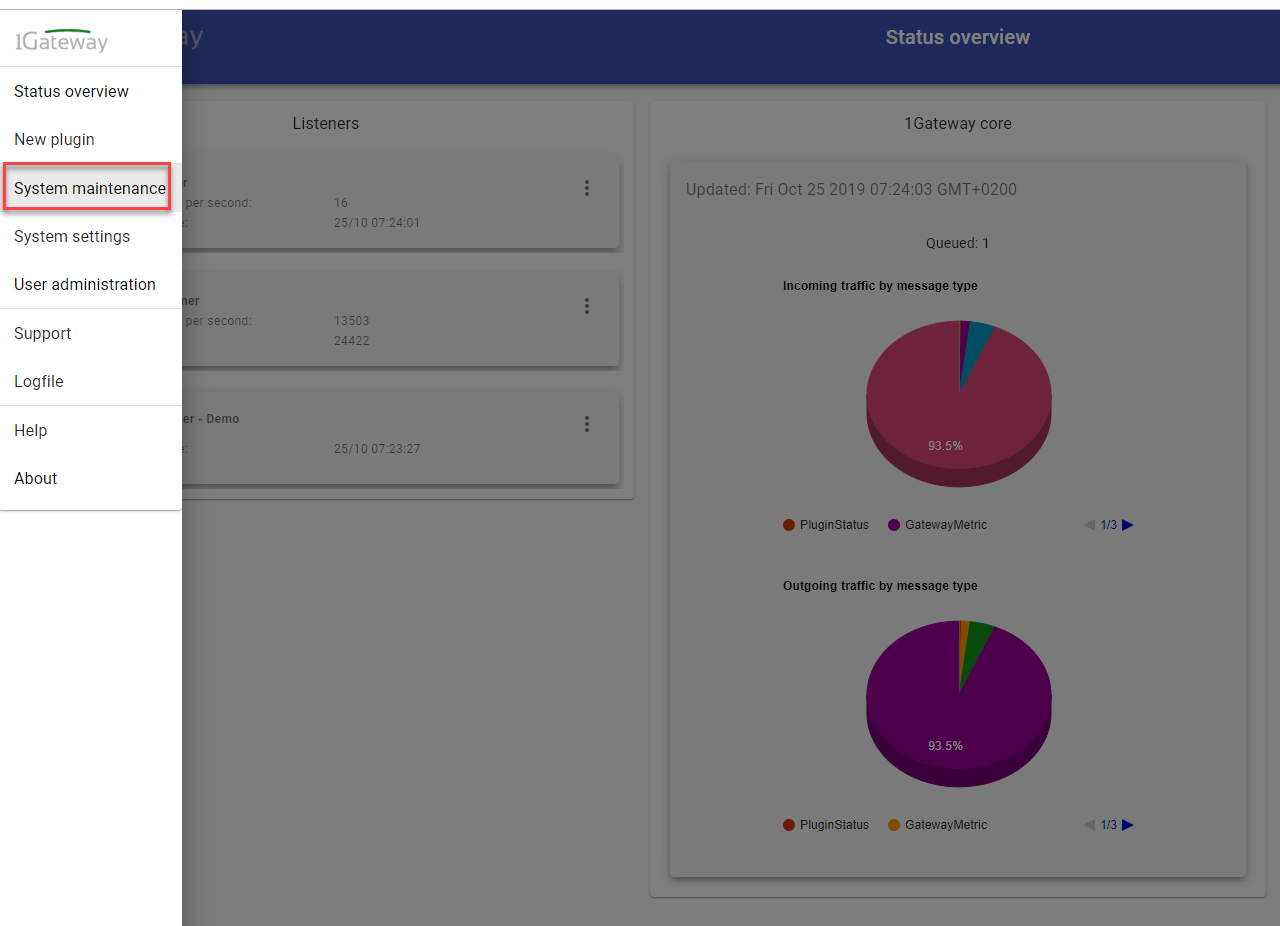
Click on the menu icon and choose the option "System maintenance"
3 - Upload file
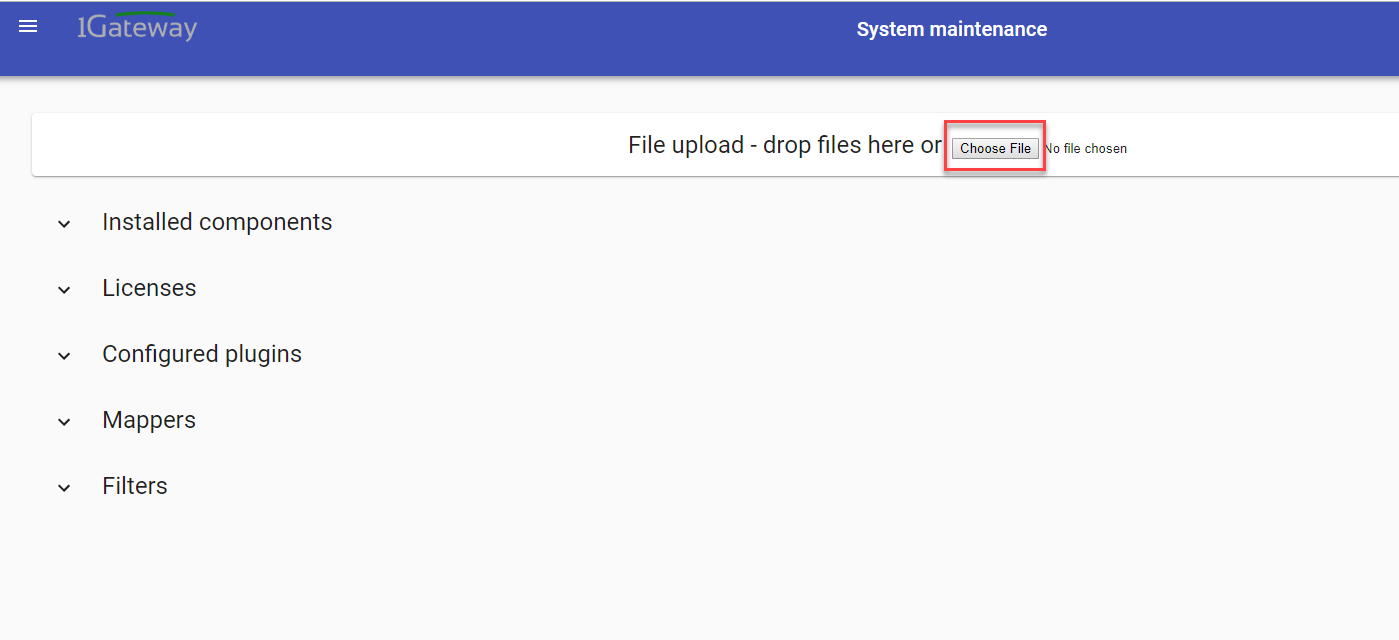
In the System maintenance view you can either drag and drop the downloaded zip file or select it by clicking the "choose file" button.
4 - Restart
After the upload installation will be confirmed. Restart 1Gateway to ensure any locked files are updated.
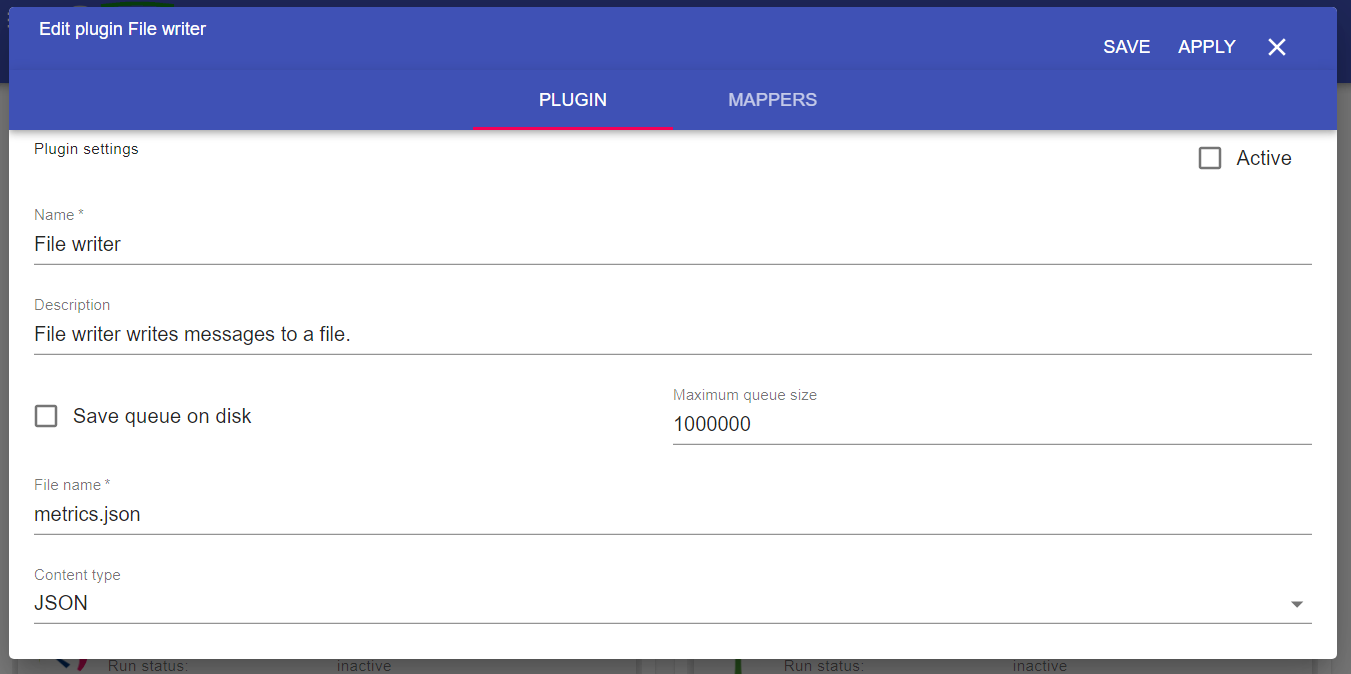
Configuration
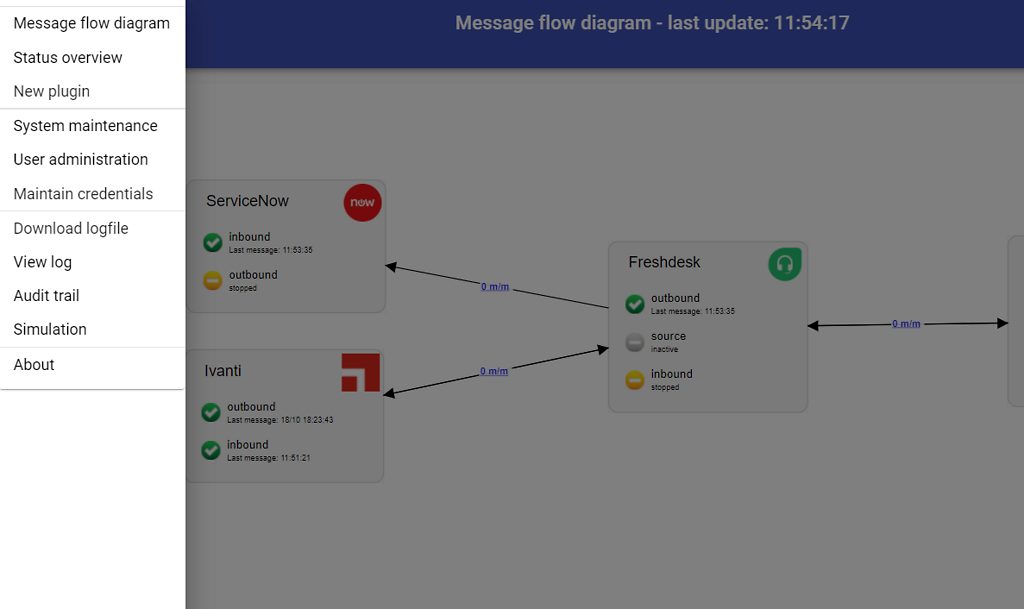
Open the main menu and click on "New plugin"

Select the plugin you want to configure. Use the Filter field if needed.
Field name | Supported values | Description |
|---|
File name | Any string | Filename where to print the messages |
Content type | String, JSON, XML. | Format in which to write the messages |
Advanced configuration
The advanced configuration includes the following additional fields:
Field name | Supported values | Description |
|---|
Erase file contents on first write | true / false | Indicates if to replace the file if it exists on disk or not |
Root key from which to start writing | Any string | In case of XML, indicates the root key in the message from which to start writing |
See also