The XML File writer plugin writes a 1Gateway message as XML content in a file. The XML content can have a header to include at the beginning of the file and a mode to indicate if to write the keys as XML attributes or elements.
Prerequisites
Give read/write permissions to the directory path configured in the plugin
Installation
Make sure you have the 1gateway zip file that includes the plugin files and valid licences information ready. This file has been provided to you with the installation files.
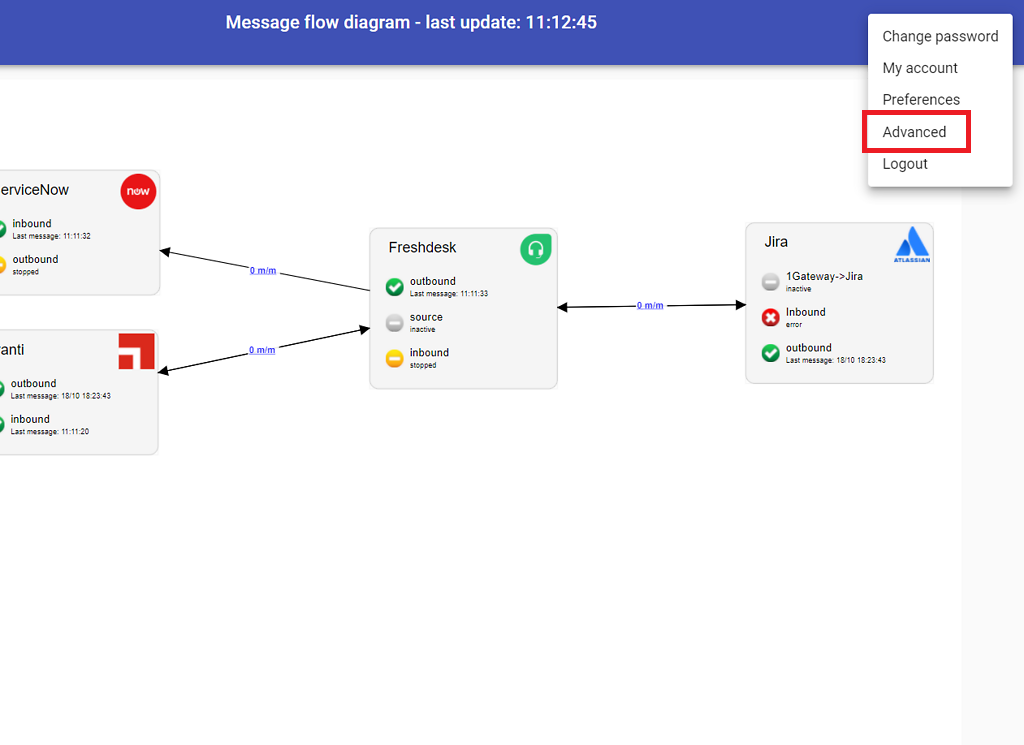
1 - Login
Login to 1gateway, and make sure you are in "Advanced mode". If this is the first time you log in, the default user and password are both 'admin' (without the quotes).
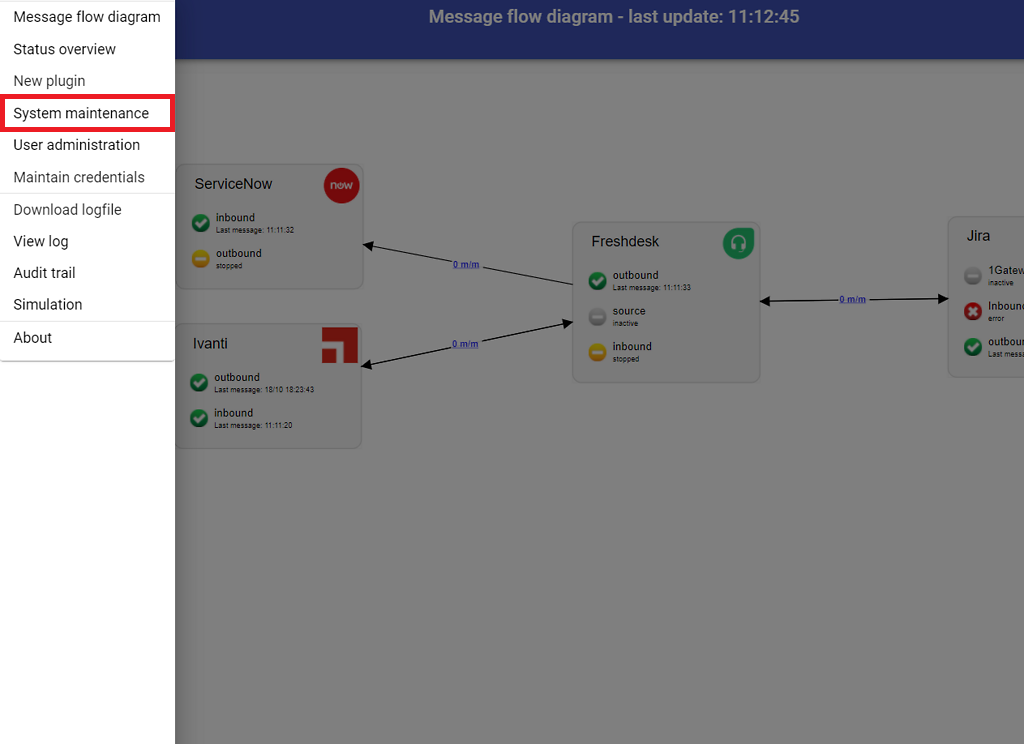
2 - System Maintenance
Click on the menu icon and choose the option "System maintenance"
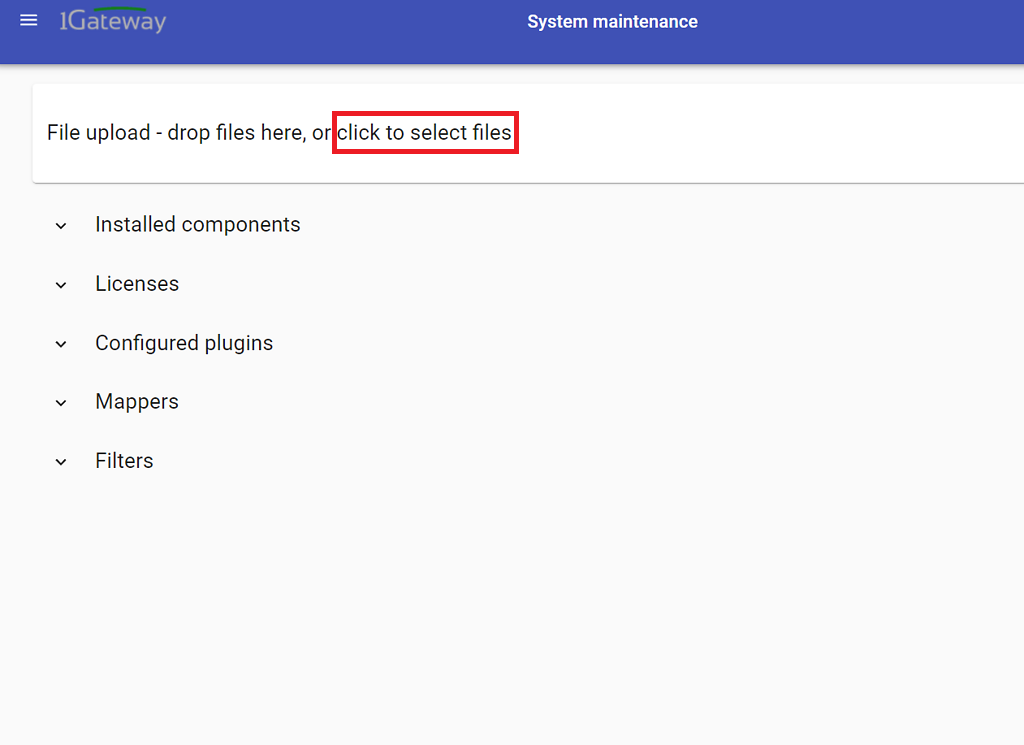
3 - Upload file
In the System maintenance view you can either drag and drop the downloaded zip file or select it by clicking the "choose file" button.
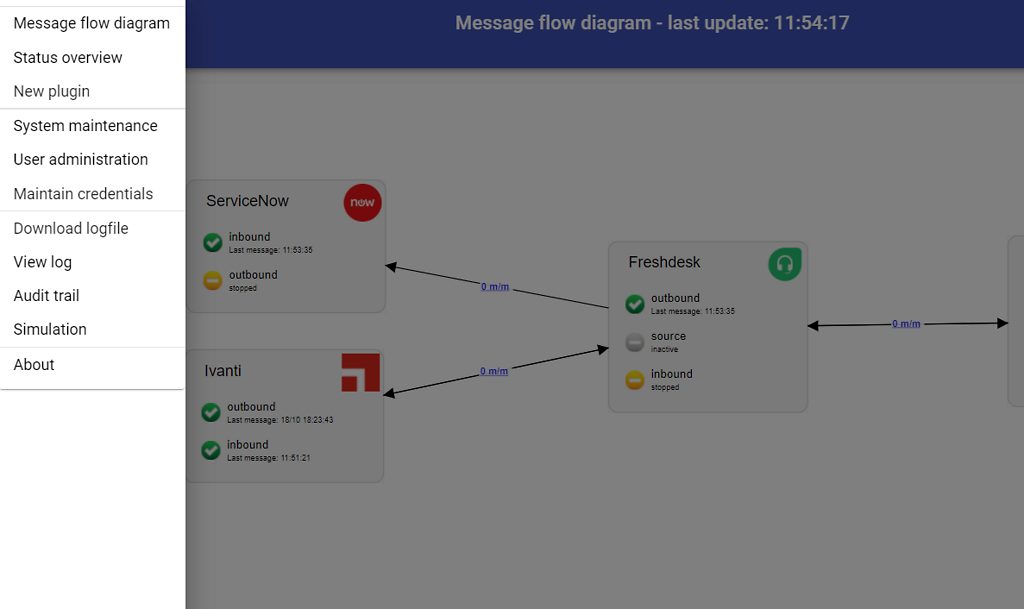
Configuration
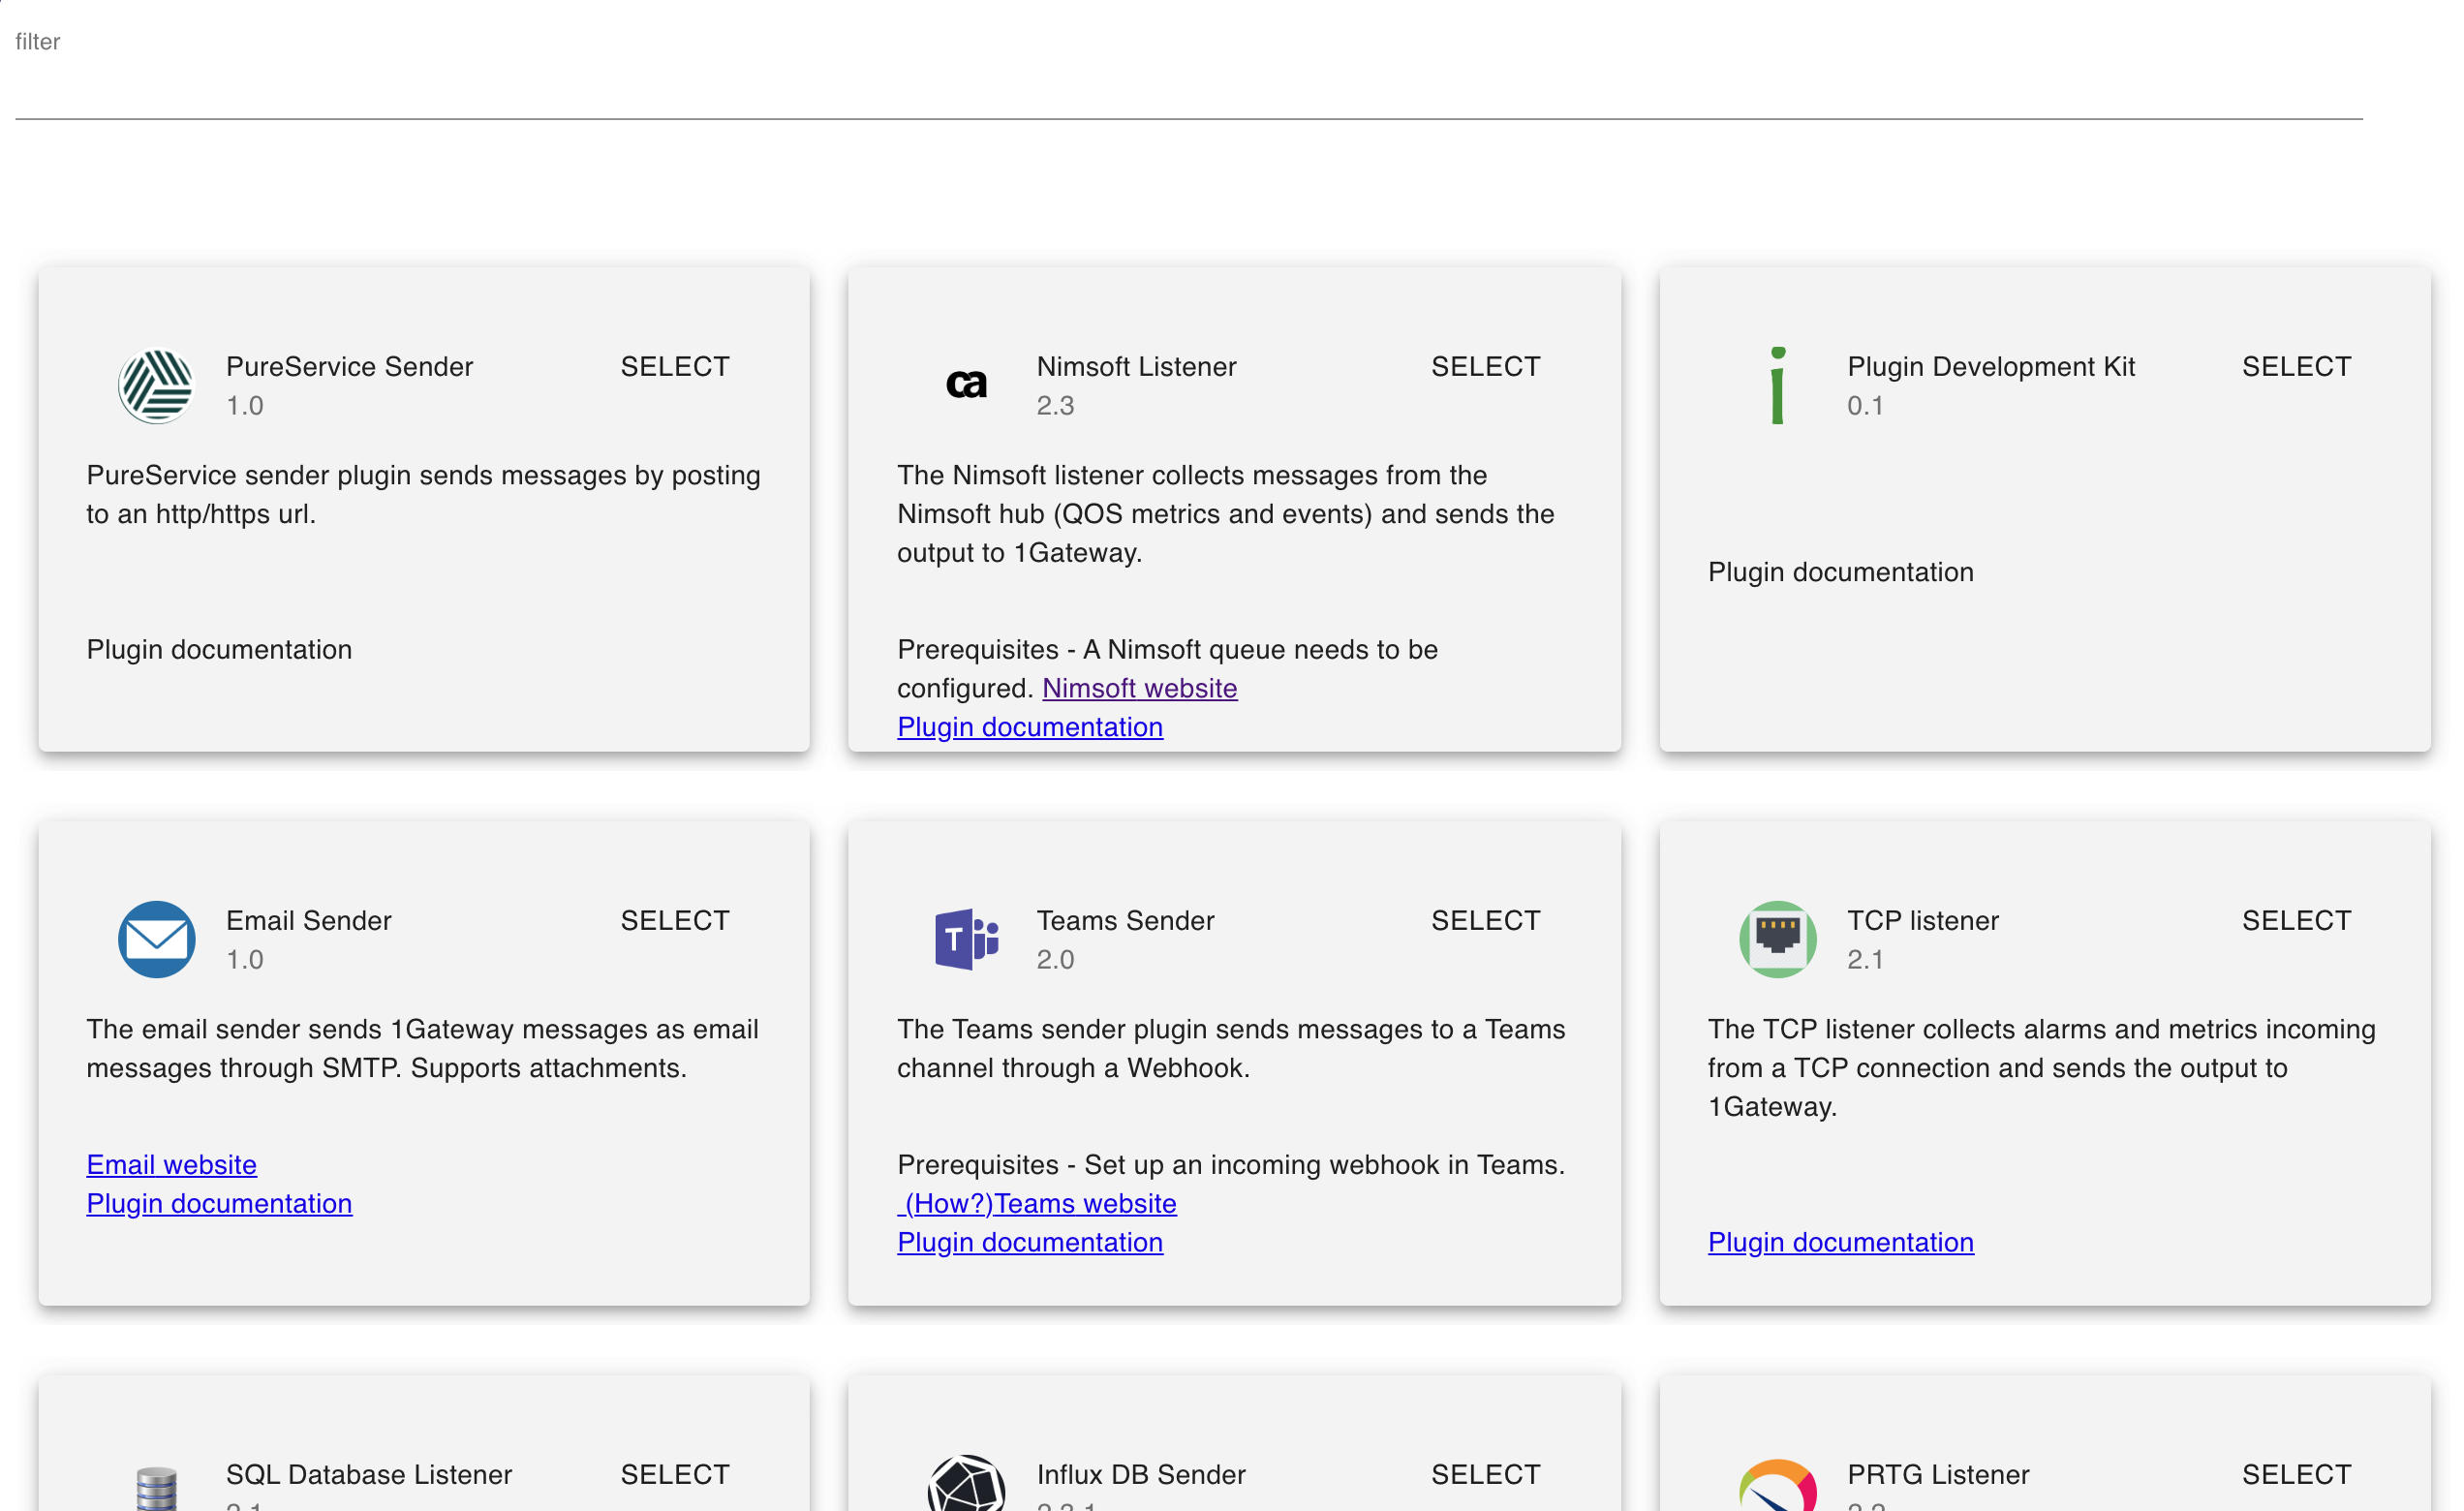
Open the main menu and click on "New plugin"
Select the plugin you want to configure. Use the Filter field if needed.
Field name
Supported values
Description
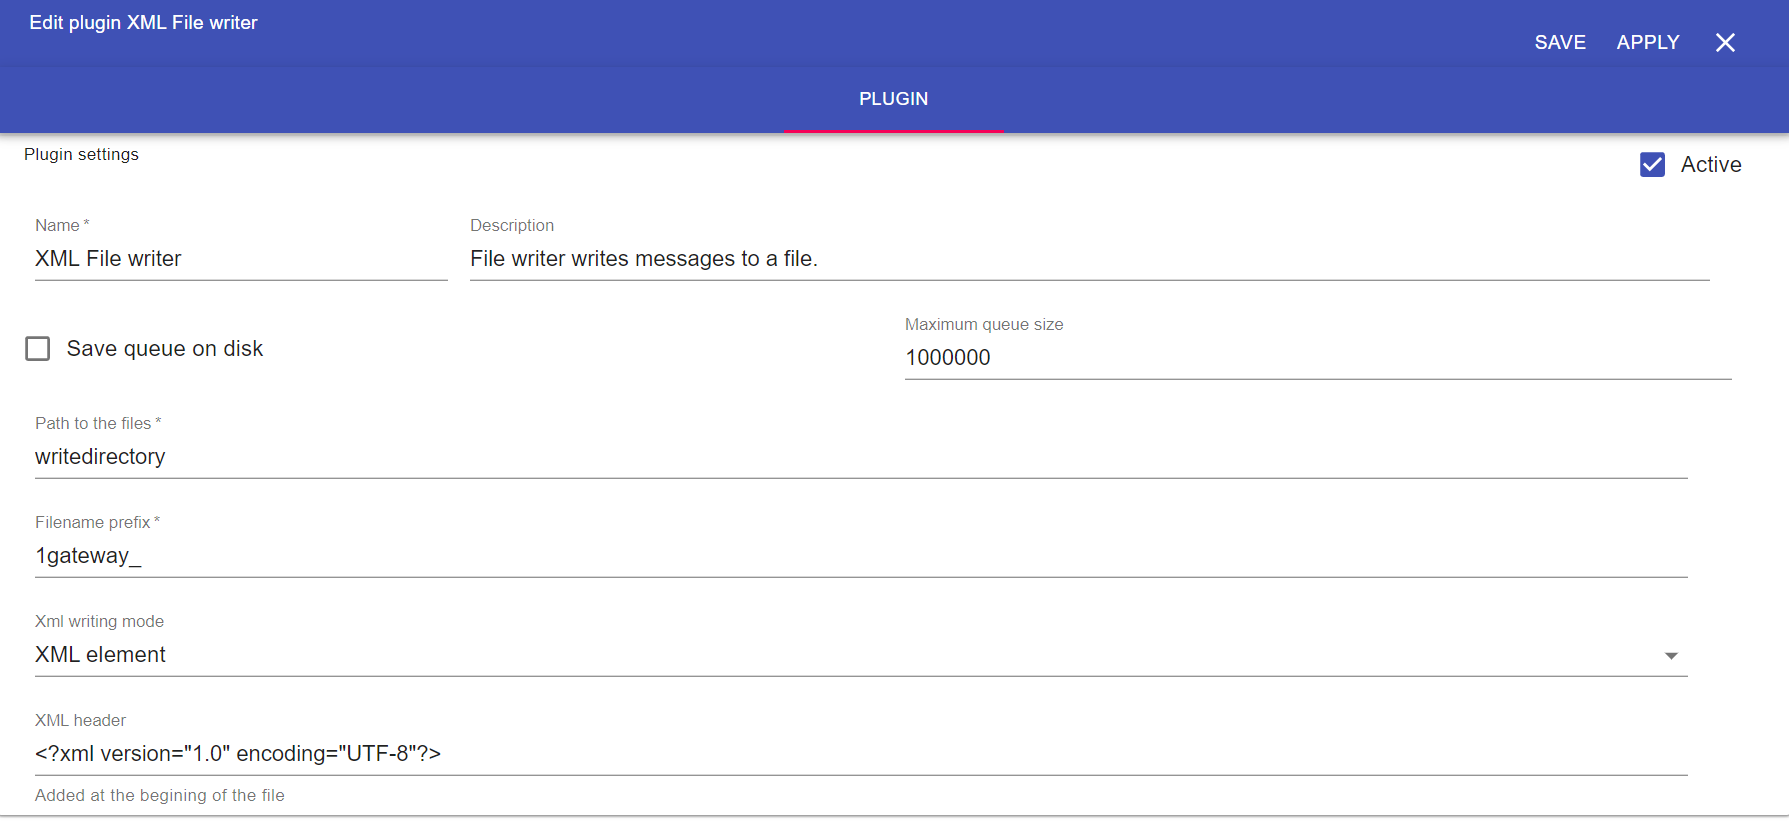
Path to files
Any string
Defines the directory which to write to
Filename prefix
Any string
Defines the filename or prefix of the filename to write. See below for mode information
XML writing mode
XML element, XML attribute
Defines if to write the keys in the message as XML attributes or elements
XML header
Any XML string
(Optional) Defines the header to write at the beginning of the XML file
The location to which to write the file is saved is always the path defined. The path can indicate a subdirectory by including a / (slash) in the "Path to files" field in the plugin.
The filename will be taken from the 1GatewayHeader/filename key in the message if it exists.
If it doesn't, the filename will be [Filename prefix field from plugin}-[1GatewayHeader/origin/id field from message]-[Current time in ms].xml