The Dynatrace sender inserts external tests and its results into Dynatrace using the External Synthetic API.
Prerequisites
Installation
Make sure you have the 1gateway zip file that includes the plugin files and valid licences information ready. This file has been provided to you with the installation files.
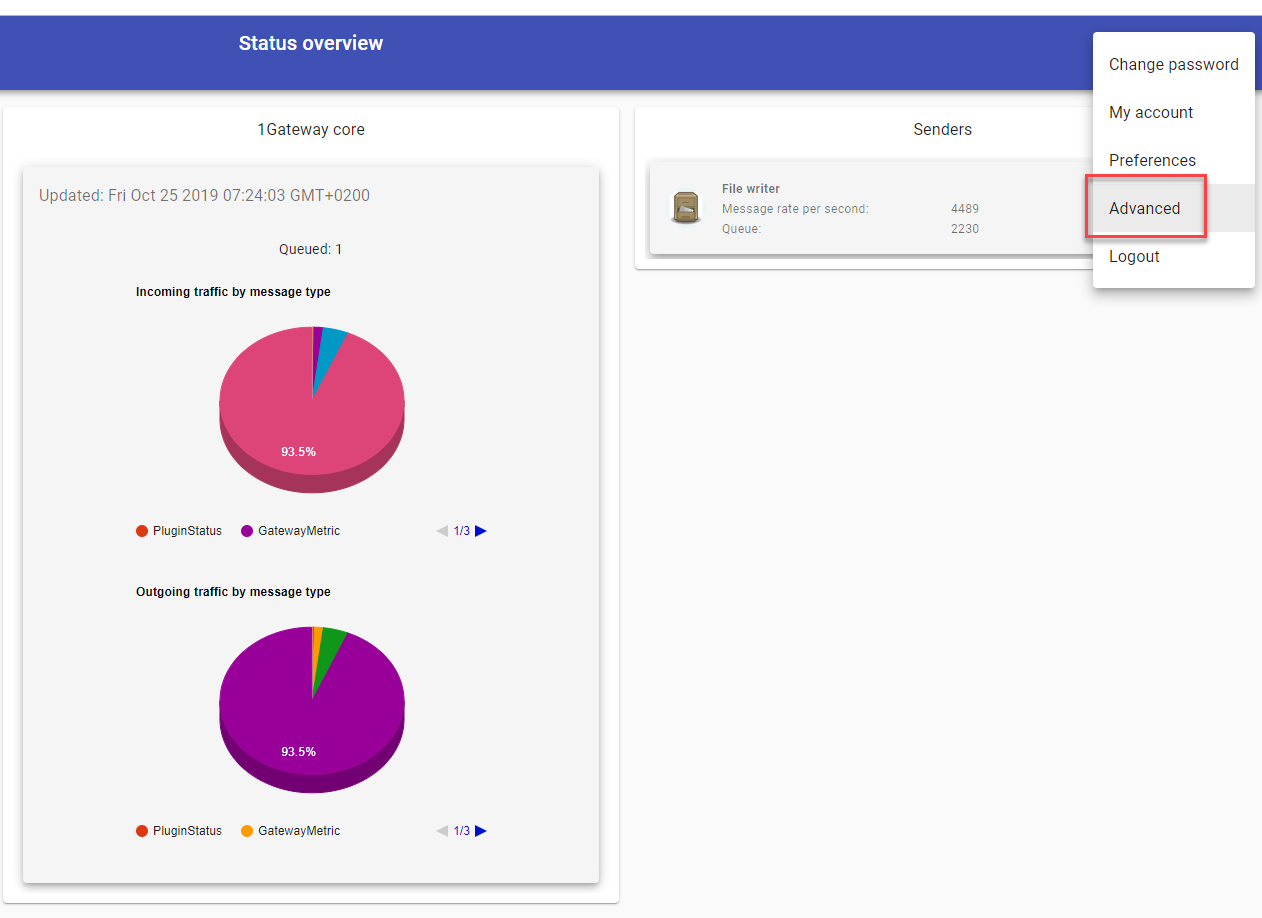
1 - Login
Login to 1gateway, and make sure you are in "Advanced mode". If this is the first time you log in, the default user and password are both 'admin' (without the quotes).
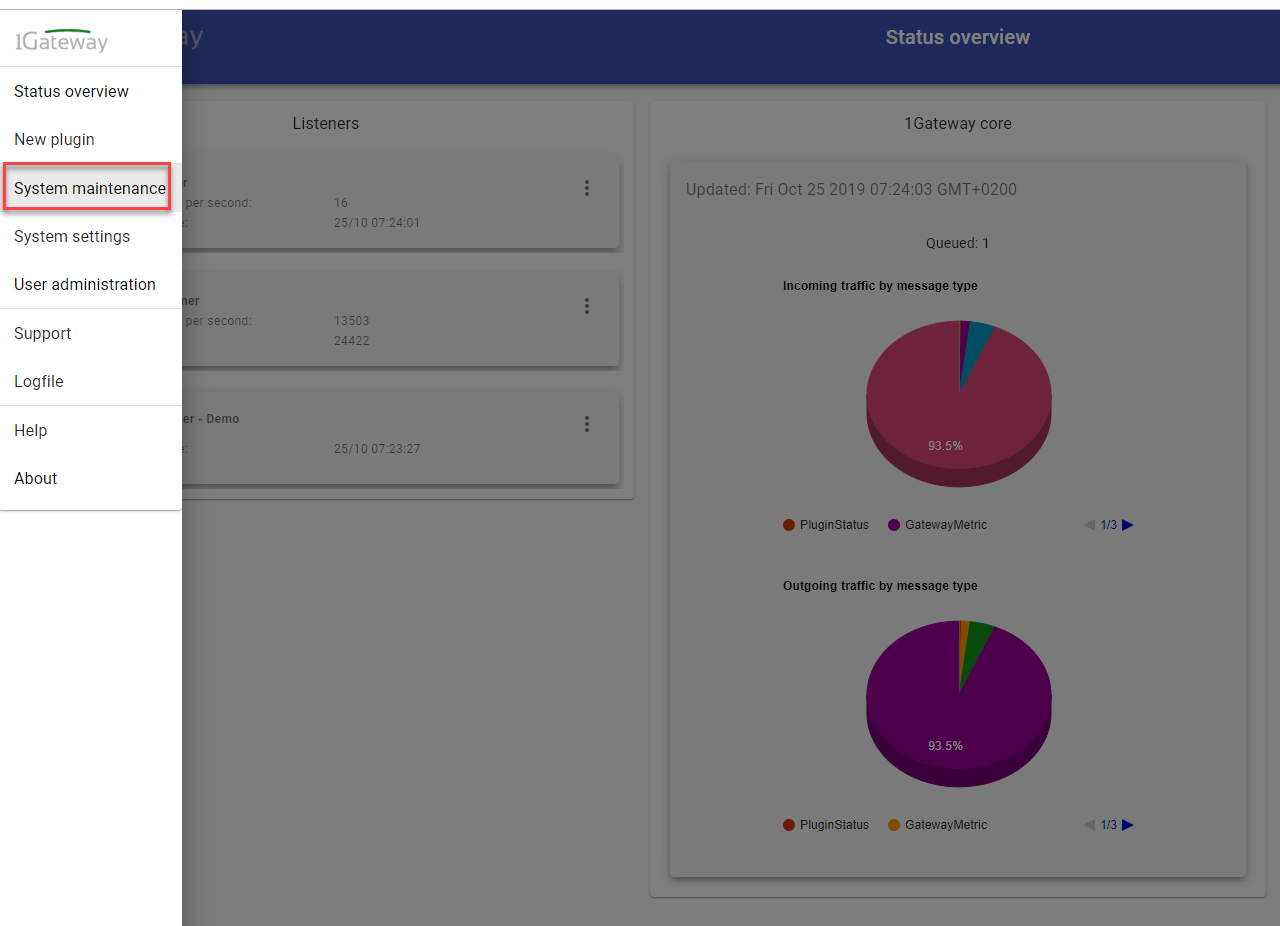
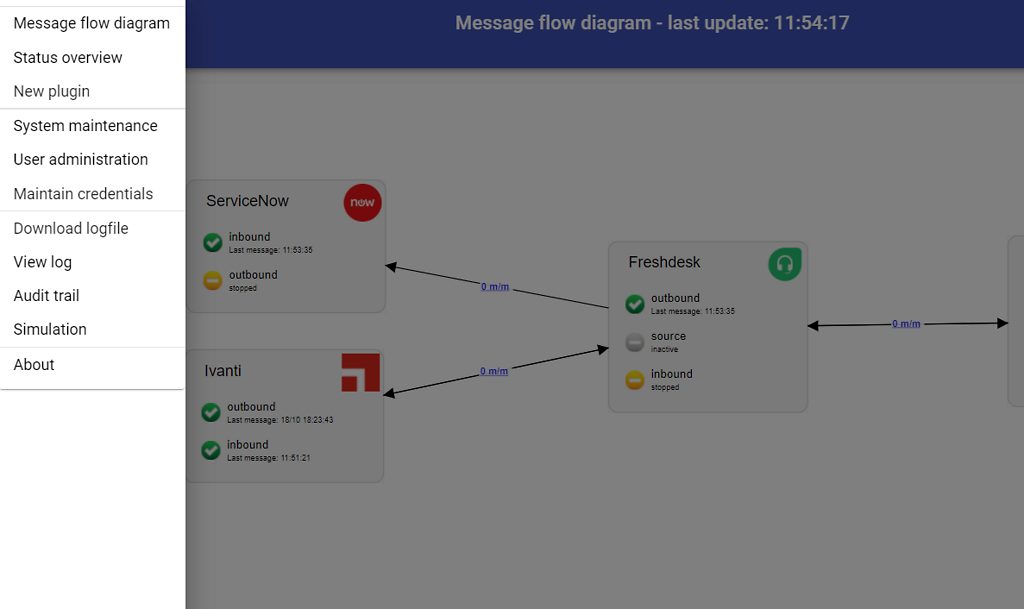
2 - System Maintenance
Click on the menu icon and choose the option "System maintenance"
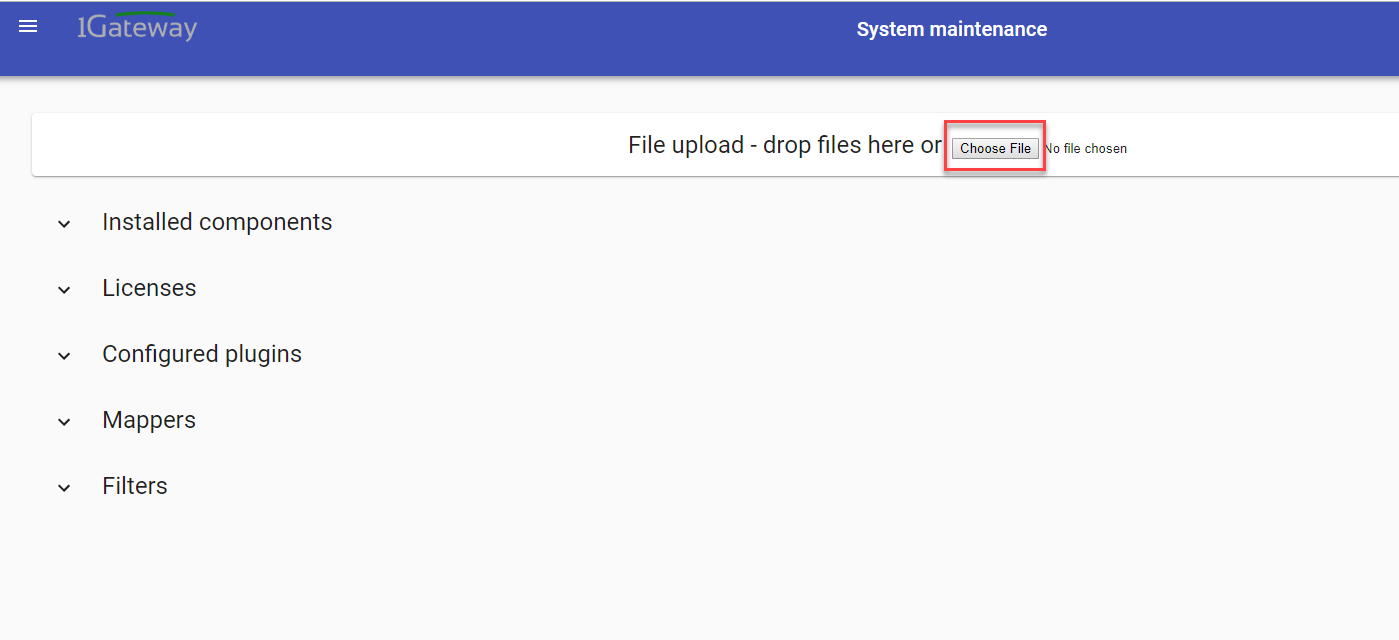
3 - Upload file
In the System maintenance view you can either drag and drop the downloaded zip file or select it by clicking the "choose file" button.
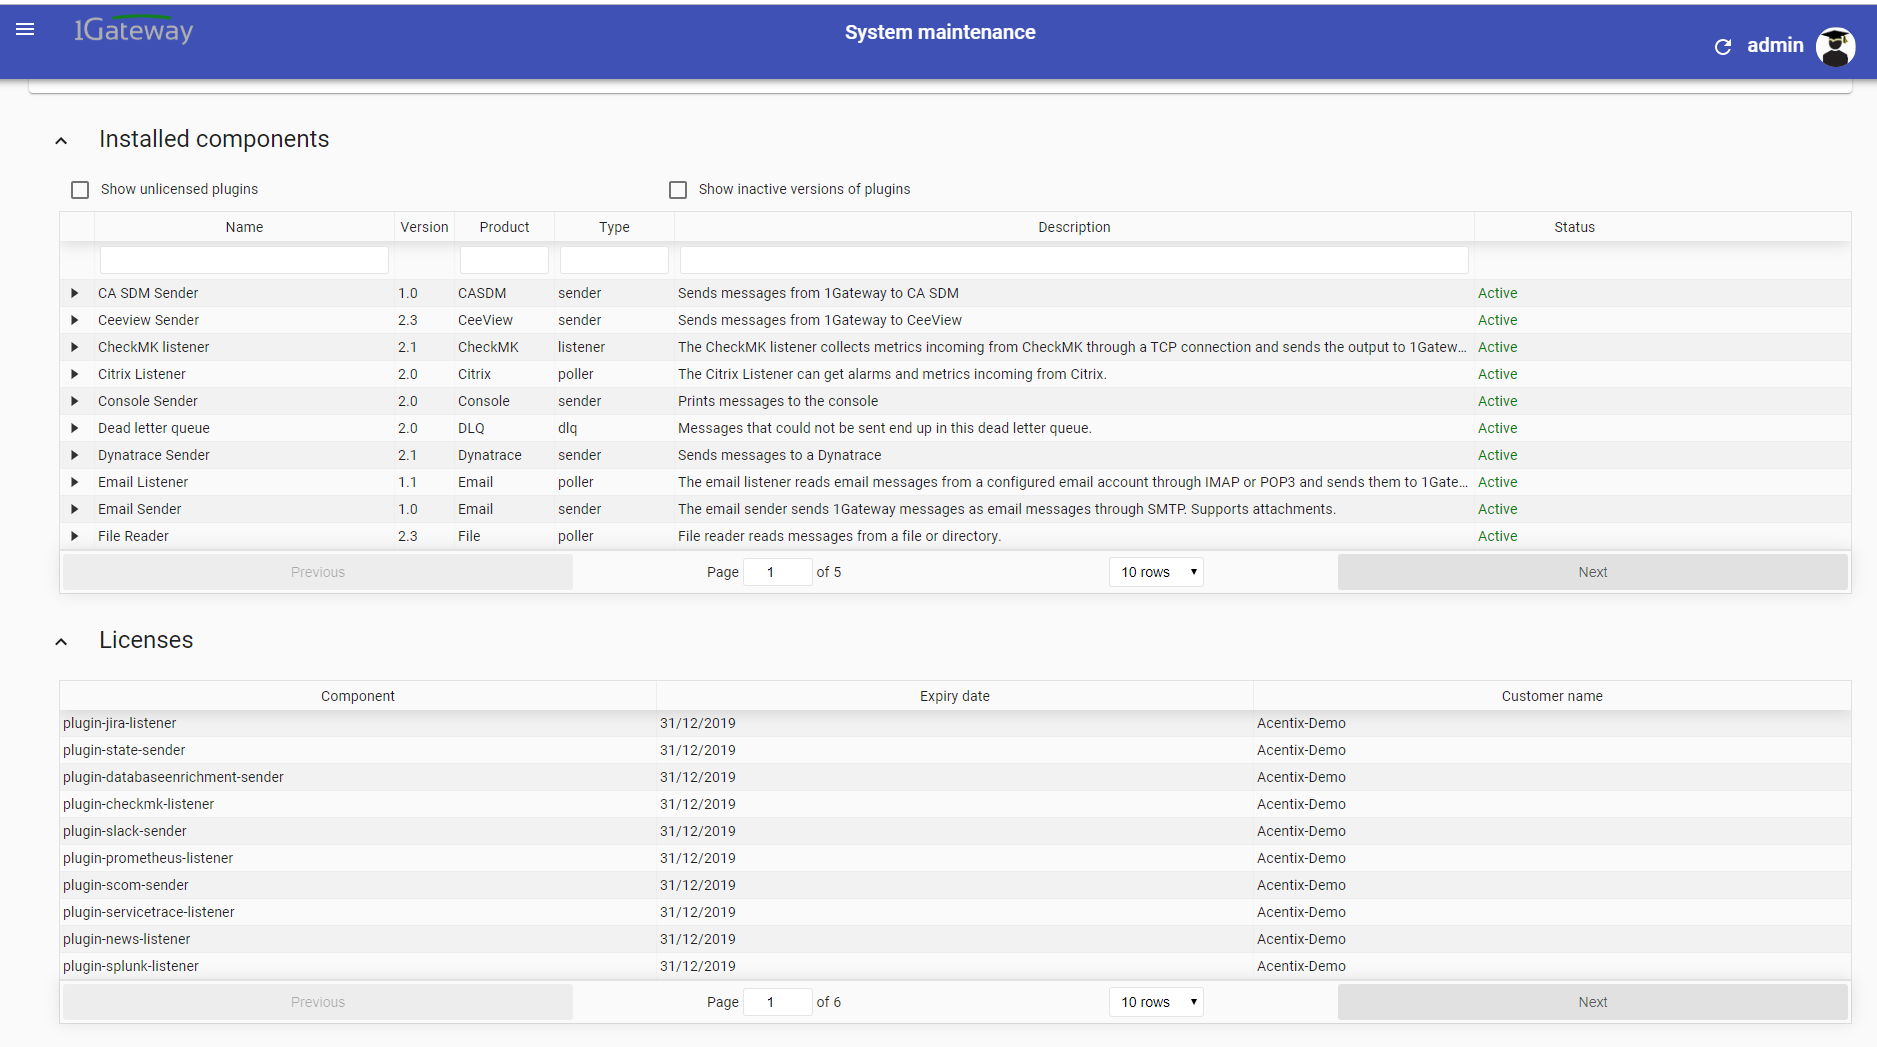
4 - Restart
After the upload installation will be confirmed. Restart 1Gateway to ensure any locked files are updated.
Configuration
Open the main menu and click on "New plugin"
Select the plugin you want to configure. Use the Filter field if needed.
Select "Edit" from the Dynatrace Sender plugin's context menu.
Enter the name of your Dynatrace server and click on “PROFILES” at the top to configure your customer environments.
Click on “ADD PROFILE” to configure your first environment.
CAUTION: The name you enter in the profile needs to be exactly the same as the name of the customer defined in APM!
Field name
Supported values
Description
Dynatrace server
URL to Dynatrace Instance
Dynatrace server.
API Key
Any string
Dynatrace API key
NOTE: Known issue – the TEST button does not work, and always returns “Test failed”. This does not indicate that the environment is incorrect. This issue will be resolved in a future release.
NOTE: The outbound message that is sent to Dynatrace needs to contain an "enviroment" key with the name of the plugin profile defined. This can be changed in the Dynatrace sender mapper