Description
Test Automation Sender is designed to drive Servicetrace TestAutomation activity from within Jira, and to send test results back to Jira.
Prerequisites
Servicetrace Test Automation 4.8 or later
Installation
Make sure you have the 1gateway zip file that includes the plugin files and valid licences information ready. This file has been provided to you with the installation files.
1 - Login
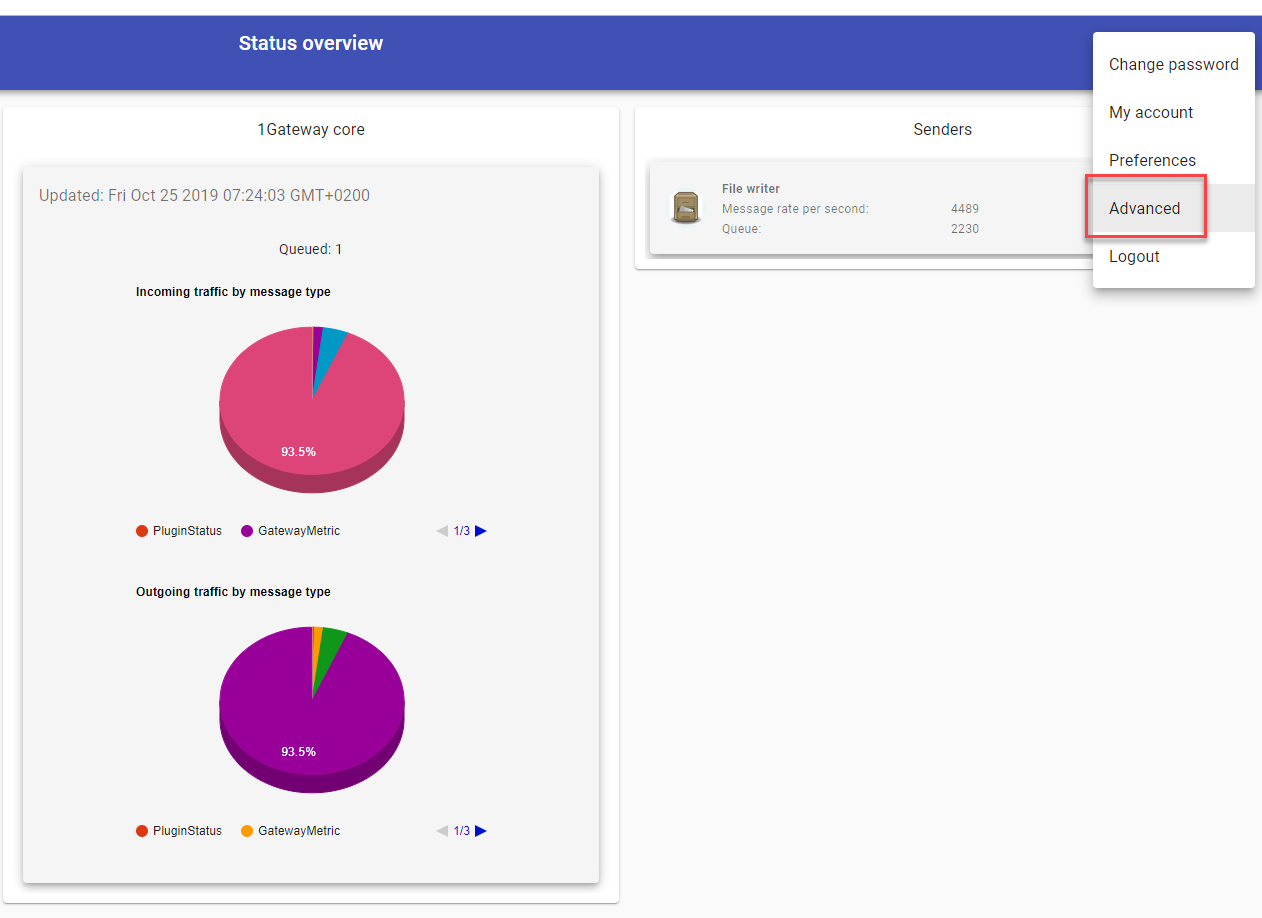
Login to 1gateway, and make sure you are in "Advanced mode". If this is the first time you log in, the default user and password are both 'admin' (without the quotes).
2 - System Maintenance
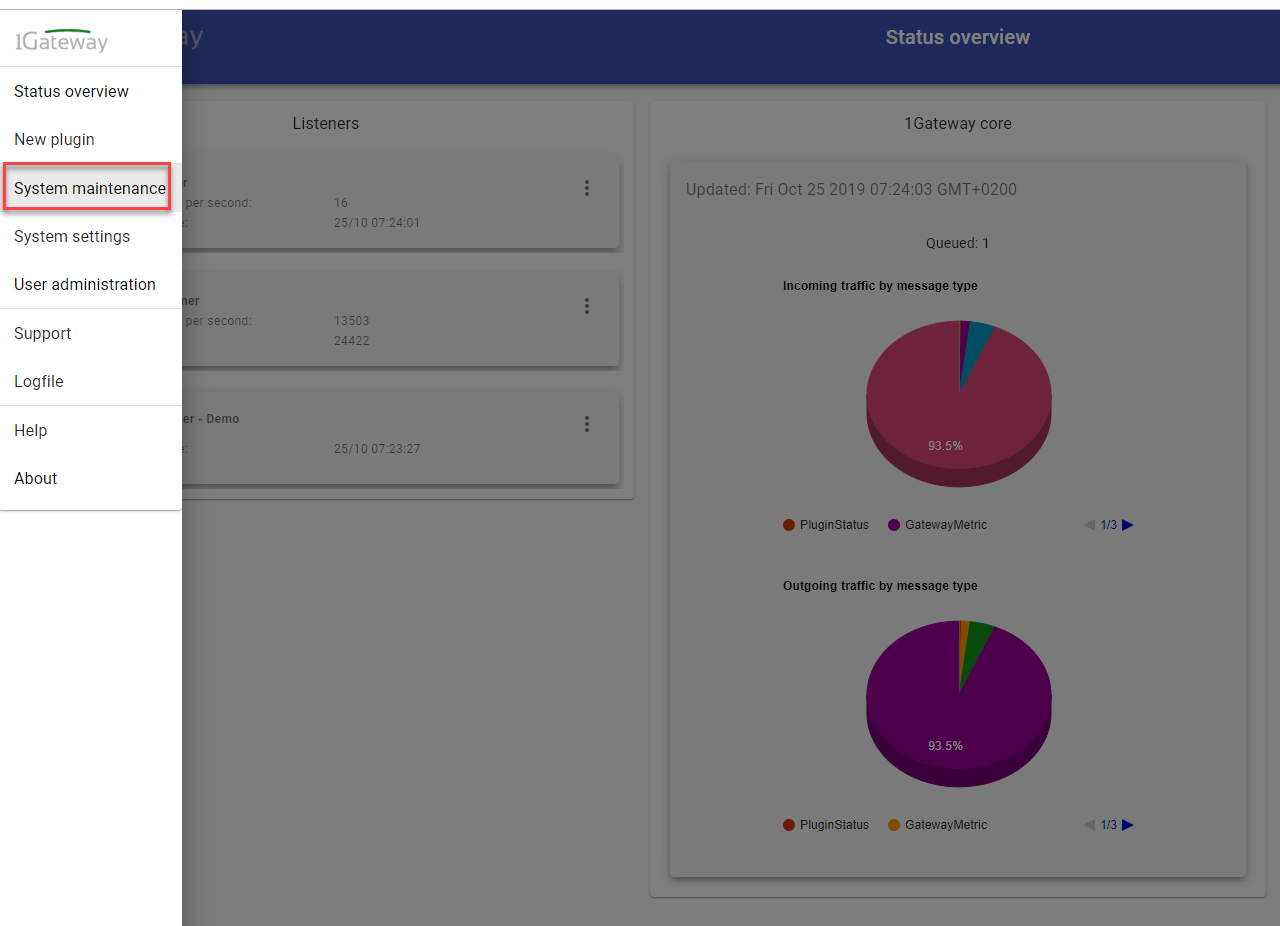
Click on the menu icon and choose the option "System maintenance"
3 - Upload file
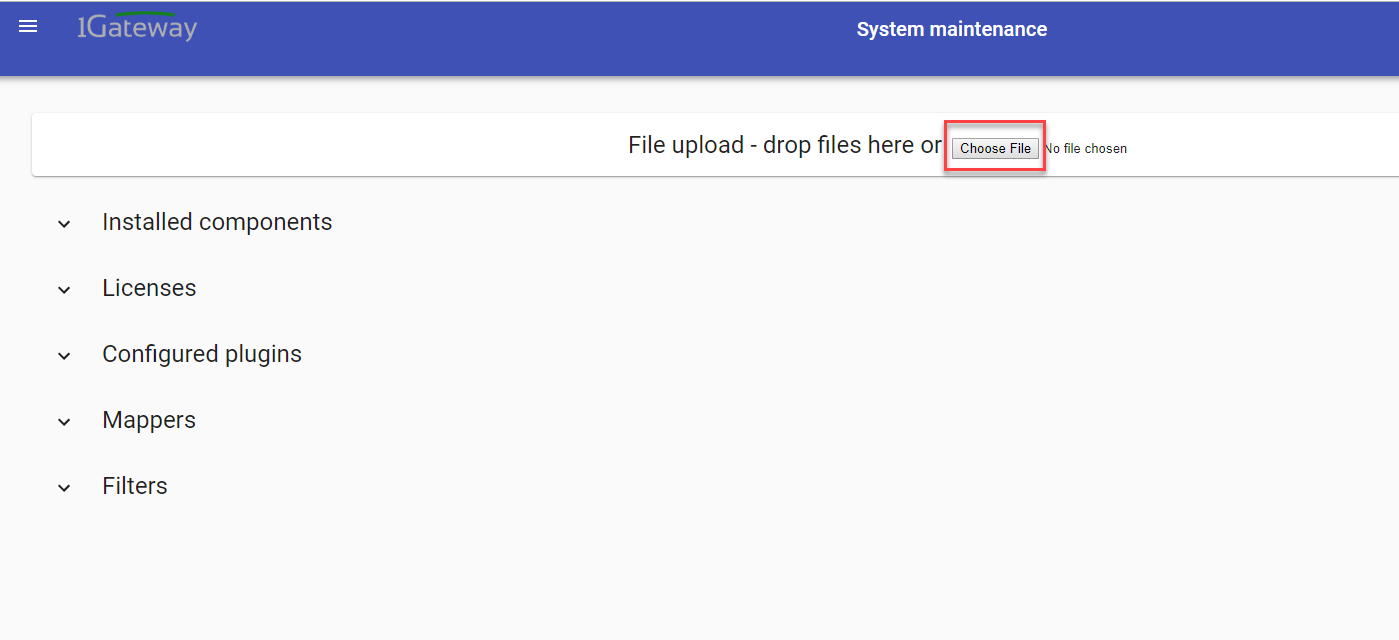
In the System maintenance view you can either drag and drop the downloaded zip file or select it by clicking the "choose file" button.
4 - Restart
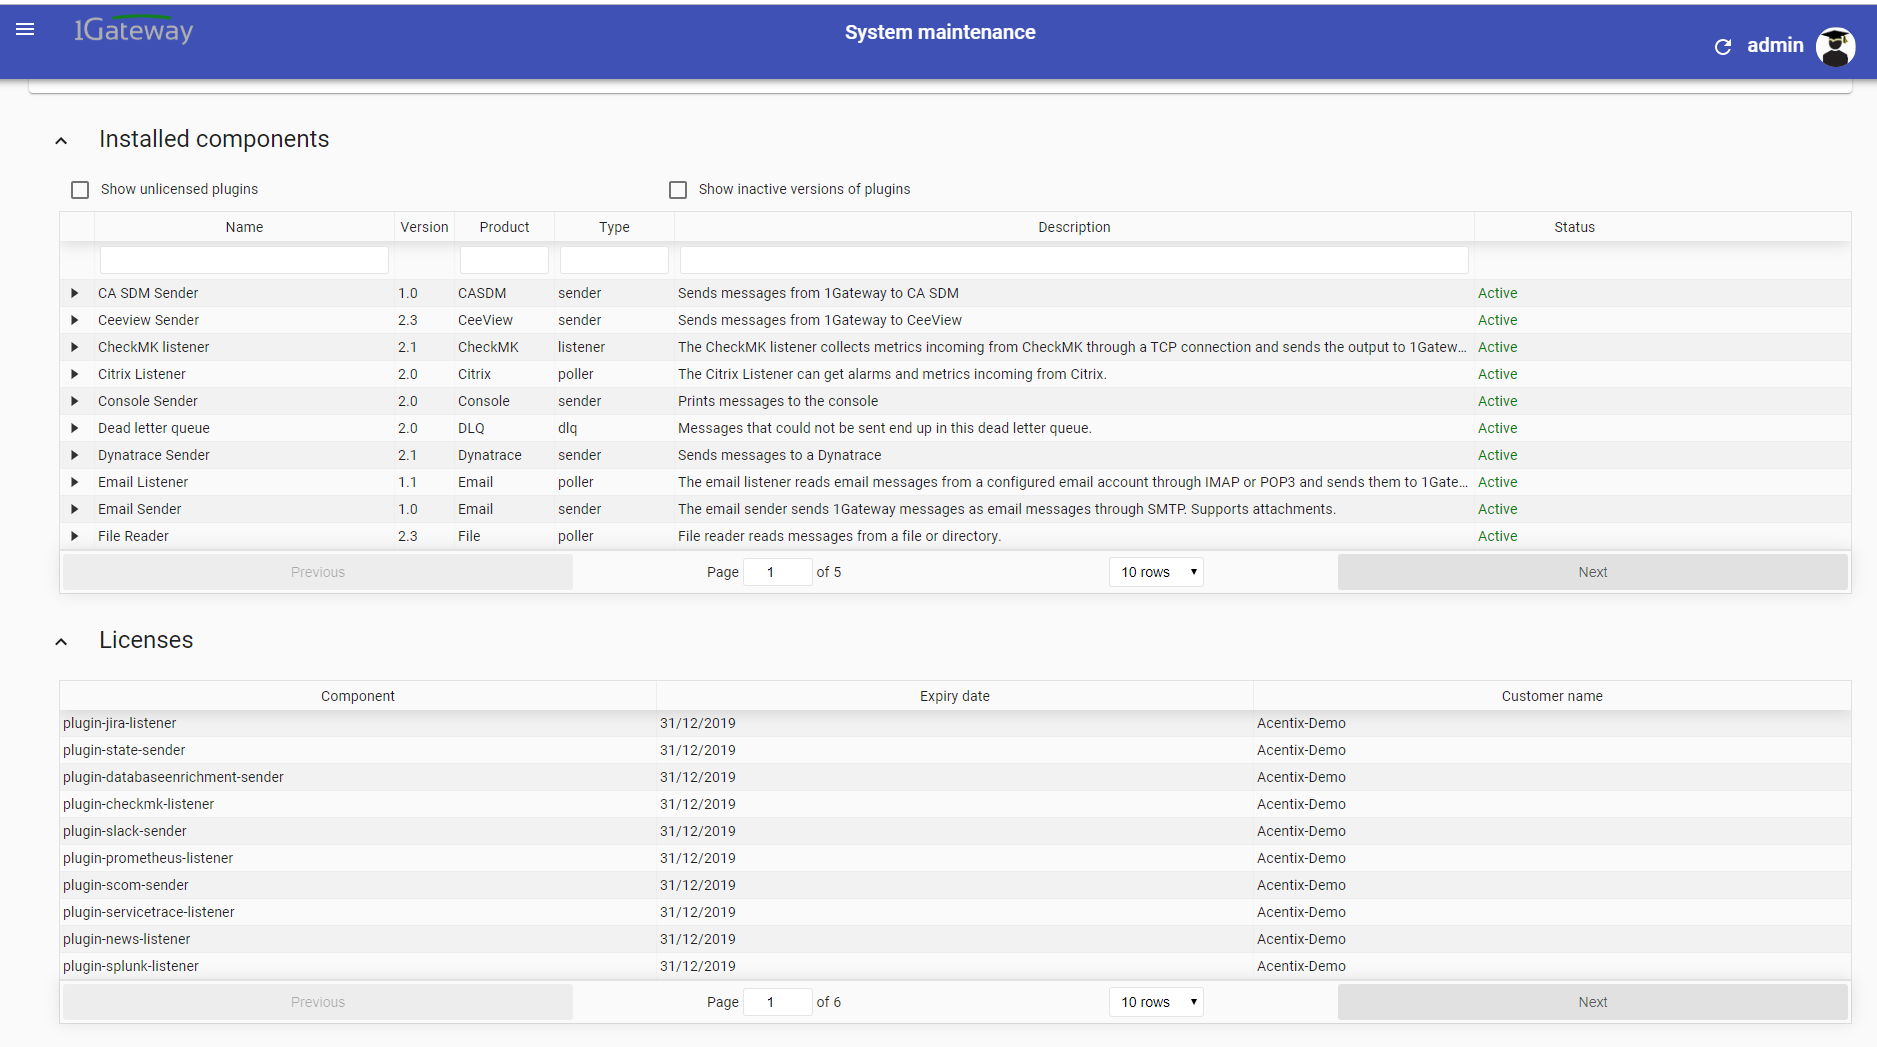
After the upload installation will be confirmed. Restart 1Gateway to ensure any locked files are updated.
Configuration
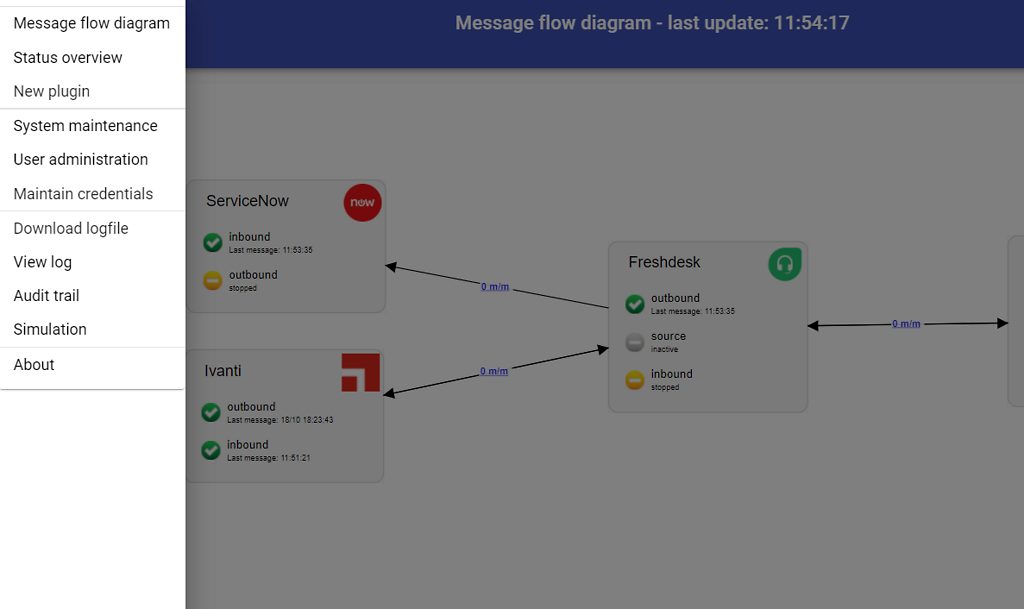
Open the main menu and click on "New plugin"

Select the plugin you want to configure. Use the Filter field if needed.
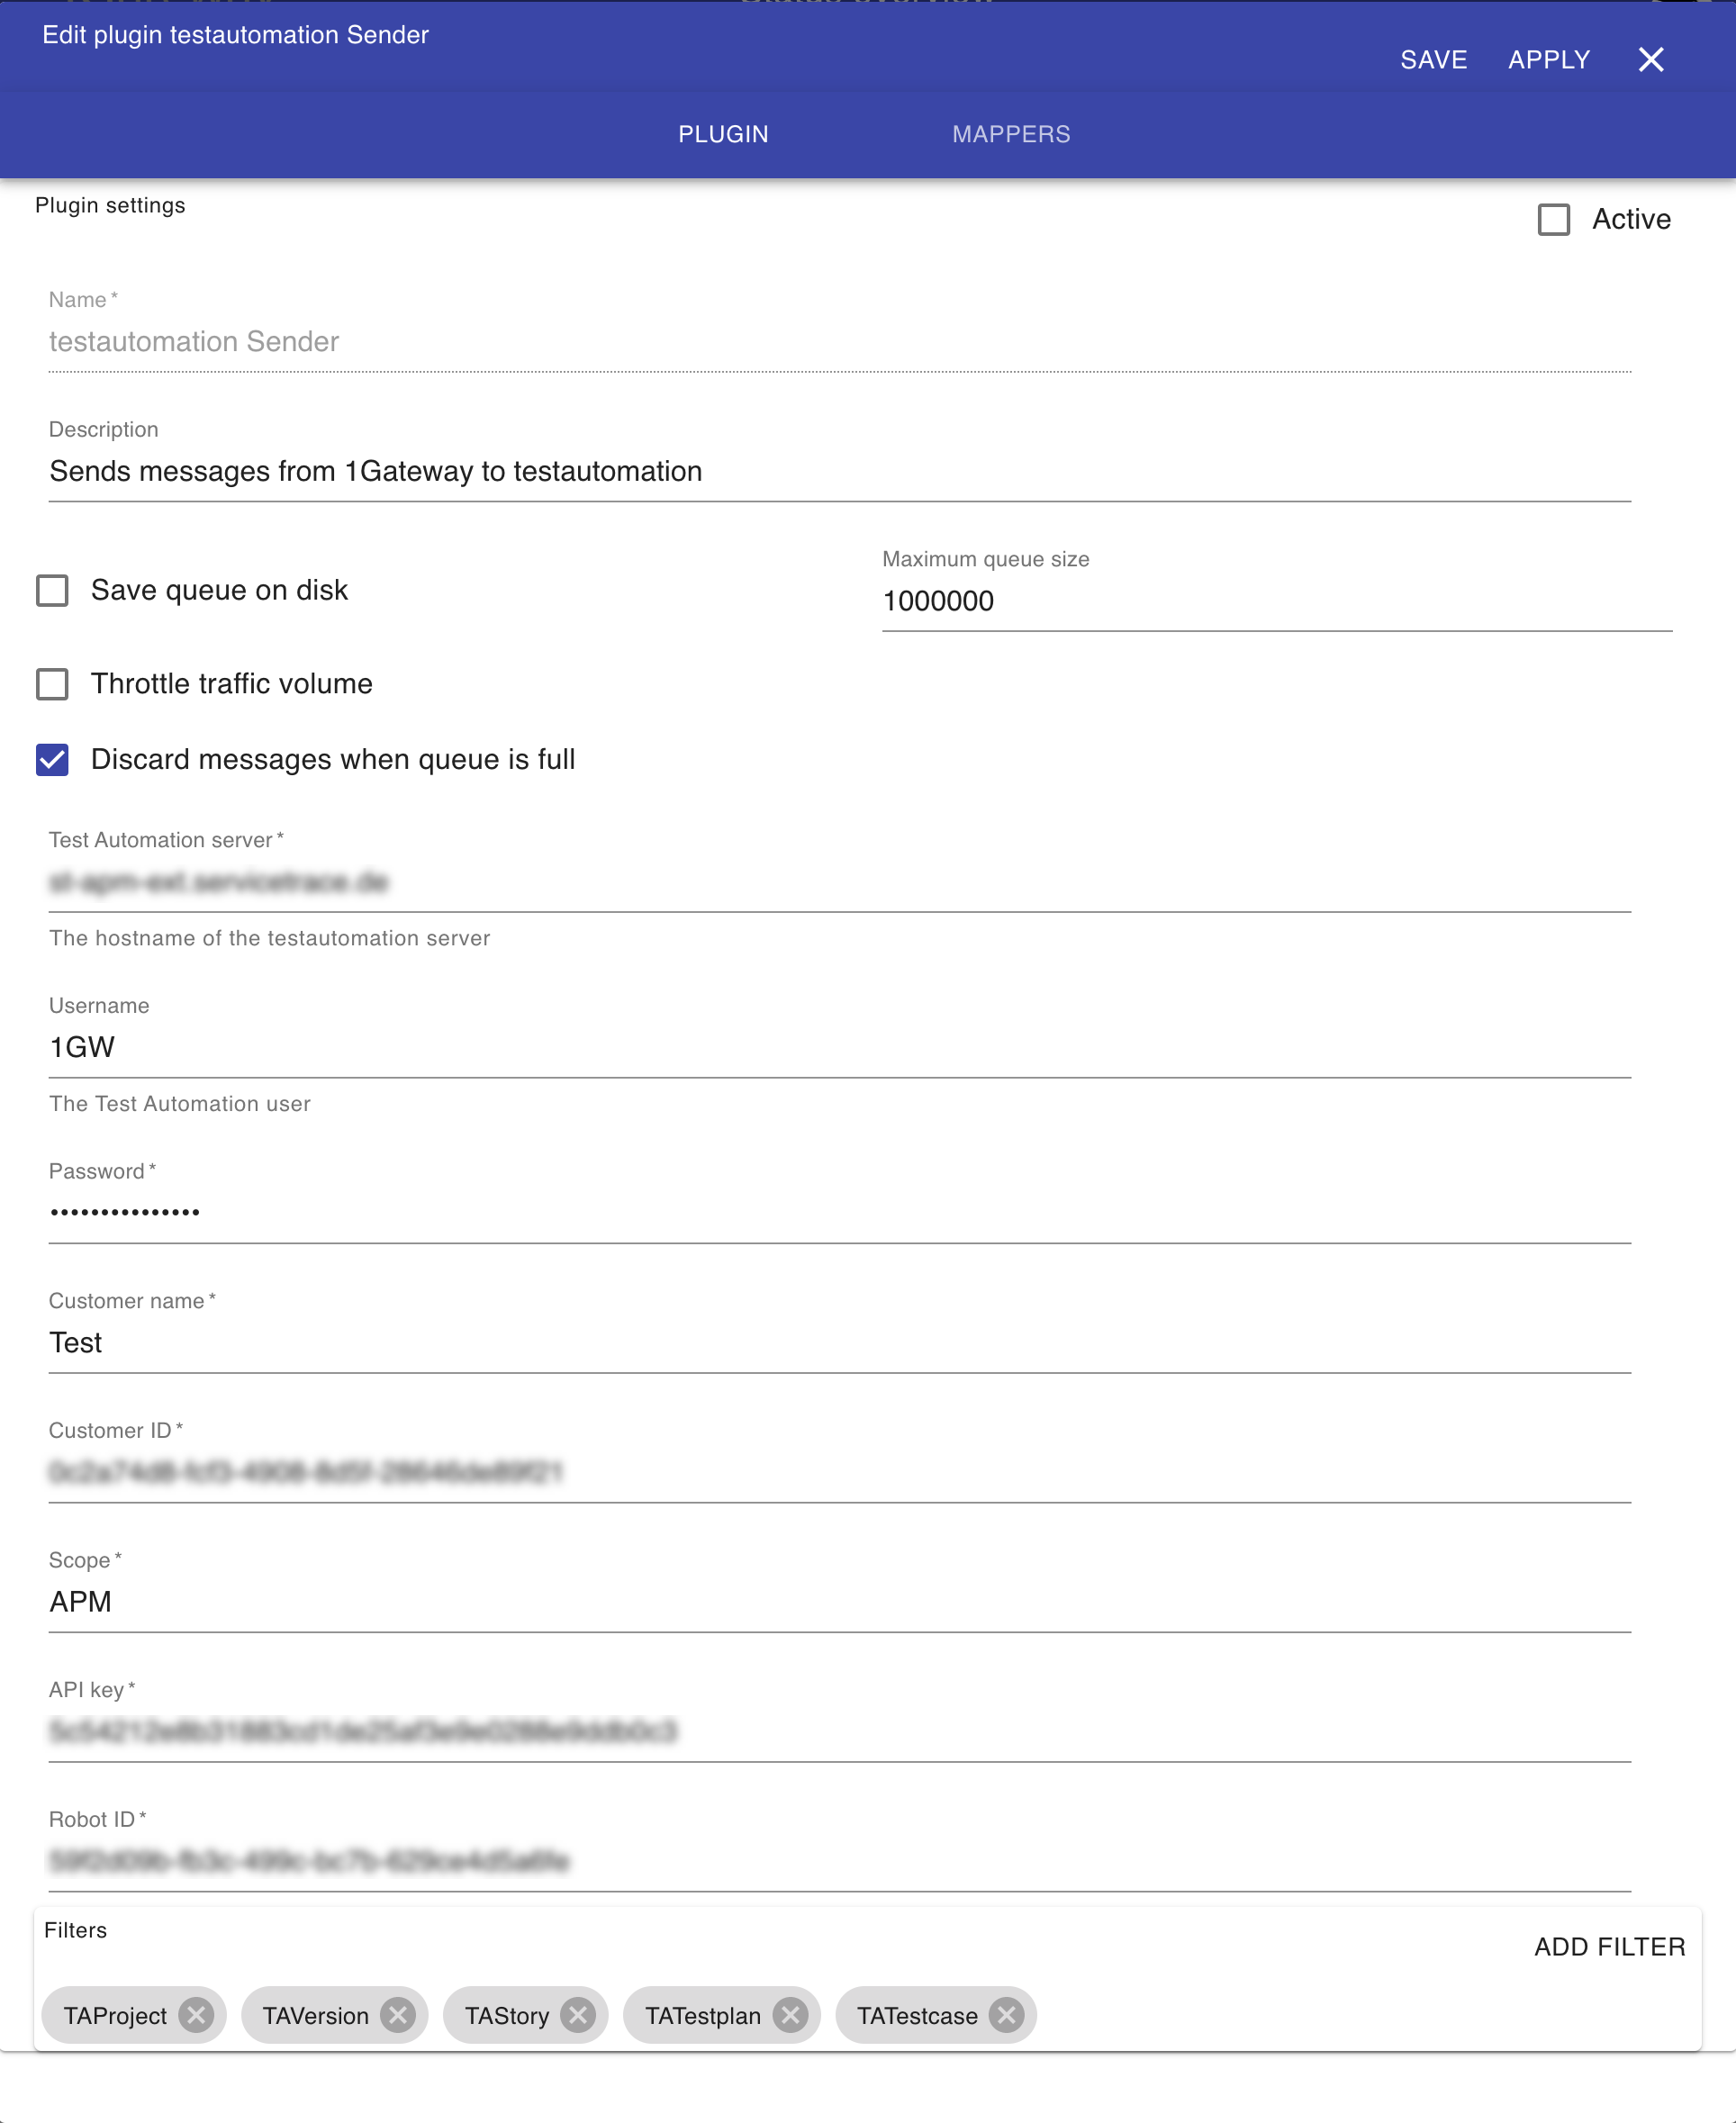
| Field | Value | Description |
|---|
| Test automation server |
| The hostname or IP address of your Test Automation server |
| Username |
| User name to logon to TA |
| Password |
| The user's password |
| Customer name |
| The name of the customer in TA |
| Customer ID |
| The ID of that customer in TA |
| Scope | APM | The scope ? |
| API key |
| The API key to use in TA |
| Robot ID |
| The default robot to use for test executions, only when no robot is specified in the testplan in Jira. |
See also