Windows Installation Guide
This guide provides the steps for installing 1Gateway version 4 onwords on a Windows computer using the Windows Setup Utility.
Installation Steps
1. Run the Installer
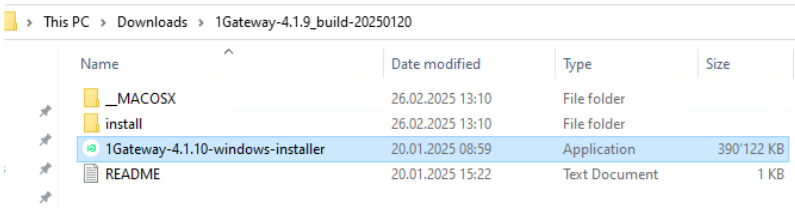
- Unpack the "1Gateway 4.1.10" zip file.
- Run the installer named "1Gateway-4.1.10-windows-installer.exe".
info
To get the Installer file, contact your Partner or 1Gateway directly.
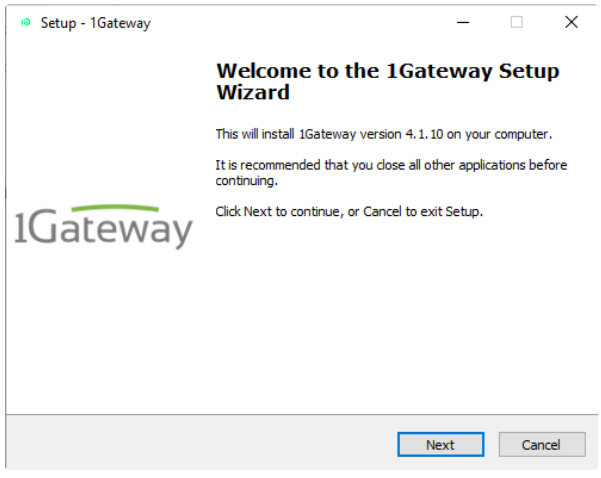
2. Setup wizard
- You will see the "Welcome to the 1Gateway Setup Wizard" screen.
- It is recommended that you close all other applications before continuing.
- Click Next to continue.
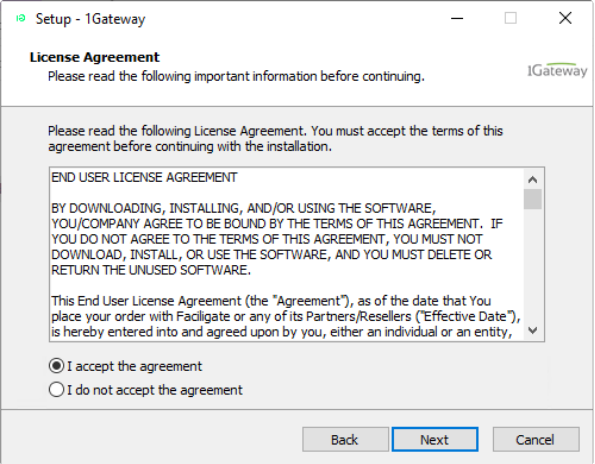
3. Agree on the EULA
- Read the End User License Agreement (EULA).
- You must accept the terms of this agreement before continuing with the installation.
- Select "I accept the agreement".
- Click Next.
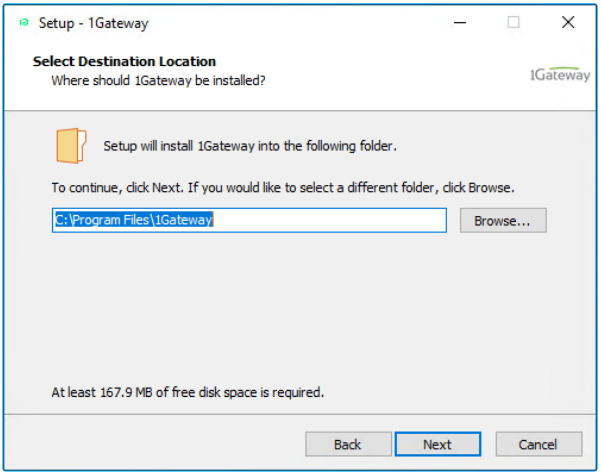
4. Select Destination Location
- Choose your installation path.
- The default installation folder is
C:\Program Files\1Gateway. - Click Next.
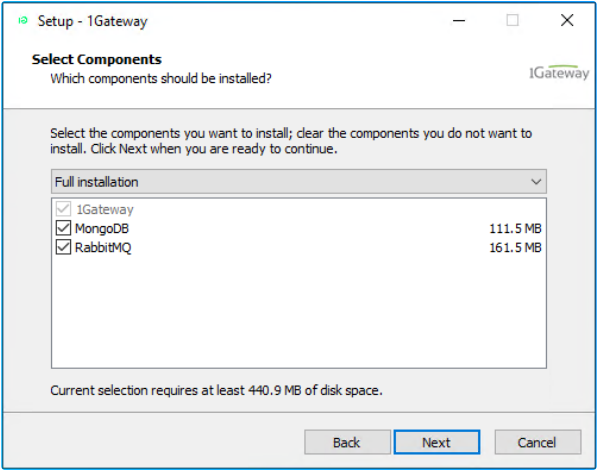
5. Select Components
- Leave all components selected because they are required on a new install.
- The default components are:
- 1Gateway
- MongoDB
- RabbitMQ
- Click Next.
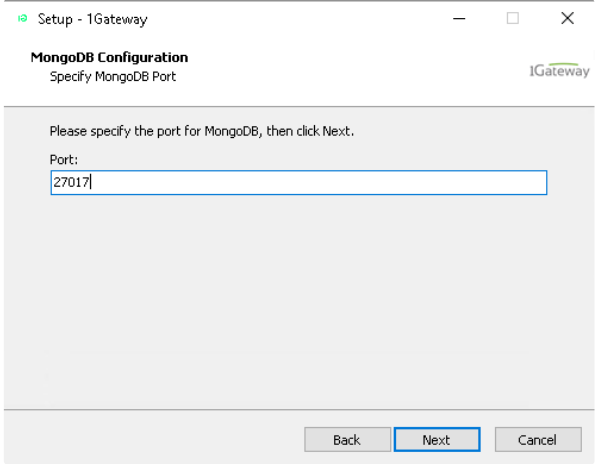
6. MongoDB Configuration
- Specify the port for MongoDB.
- Leave the default MongoDB port as 27017 if the port is not used.
- You can check if the port is in use with the command
netstat -ano | find "27017".
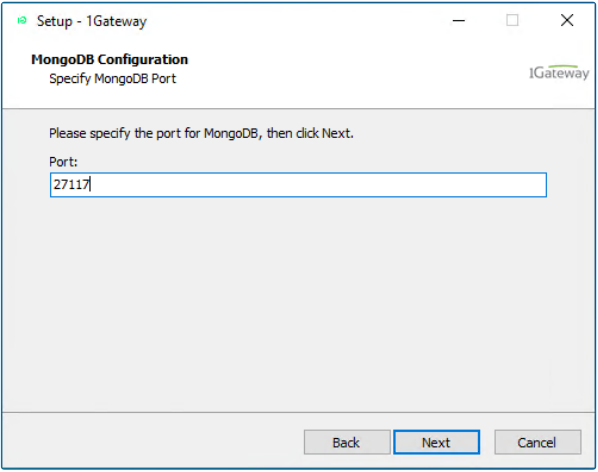
- You can check if the port is in use with the command
- If port 27017 is already used, change it to 27117.
- Click Next.
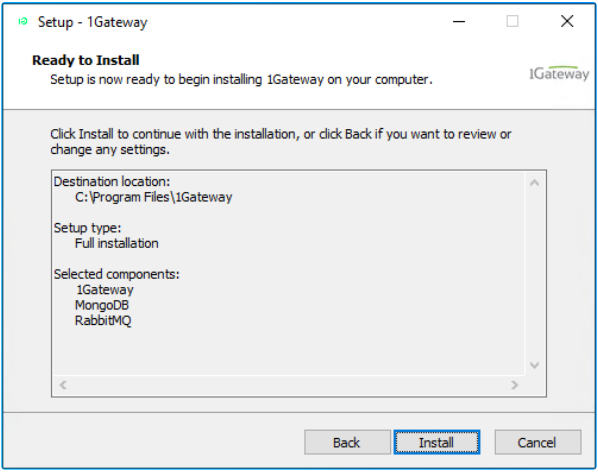
7. Ready to Install
- Review your configuration options. The default configuration shows a Full installation including 1Gateway, MongoDB, and RabbitMQ, installed in
C:\Program Files\1Gateway. - Click Install to begin the installation.
8. Watch the Progress
- Setup is now ready to begin installing 1Gateway on your computer.
- It will also show a command line window as the second part of the installation—wait and let it complete. The command line window indicates the RabbitMQ service was started successfully and shows plugin configurations.

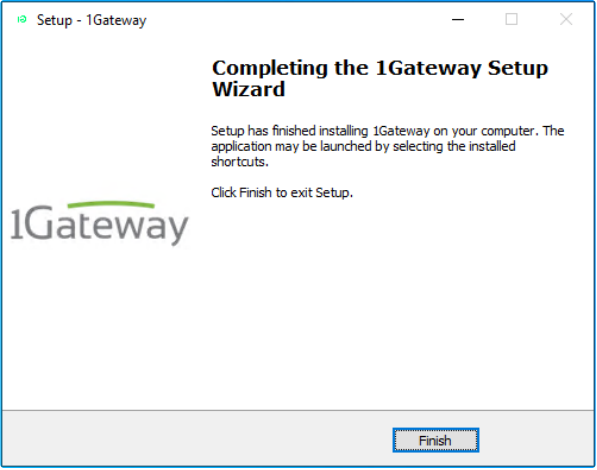
9. Finish Setup
- Installation is finished when the "Completing the 1Gateway Setup Wizard" screen is displayed.
- Click Finish to exit Setup.
Post-Installation Checks
Installed Programs
In Windows Installed programs, you will find these new components:

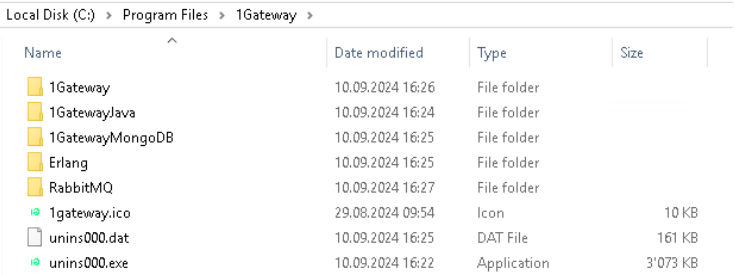
note
MongoDB is not showing because it does not register itself within Windows. You can confirm its installation by checking the installation directory, where you should find the 1Gateway MongoDB folder.
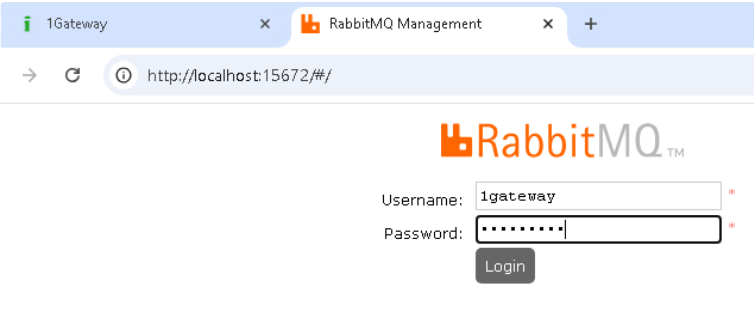
RabbitMQ Availability
- To check if RabbitMQ is available, open a browser tab to RabbitMQ Management URL:
http://localhost:15672. - The RabbitMQ login window should be available.
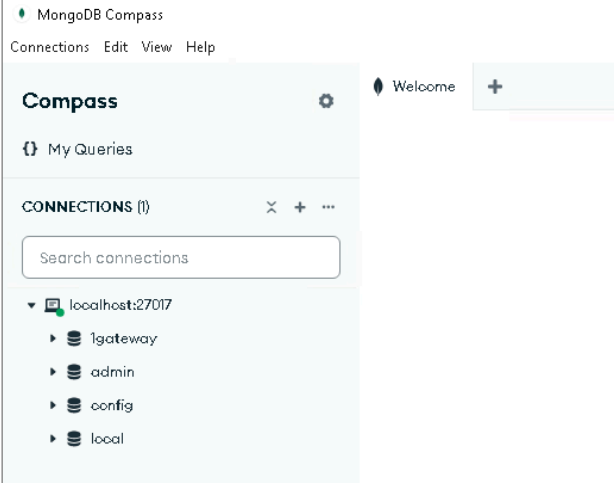
MongoDB Availability (Admins Only)
- To get visibility into MongoDB (Admins only) you can install the following UI: MongoDB Compass.
- Run the MongoDB Compass installer.
- After install, MongoDB Compass starts automatically. Hit the X on the Welcome Screen.
- Uncheck all Privacy Settings and hit "Start Using Compass".
- In MongoDB Compass, you should see a connection to
localhost:27017.
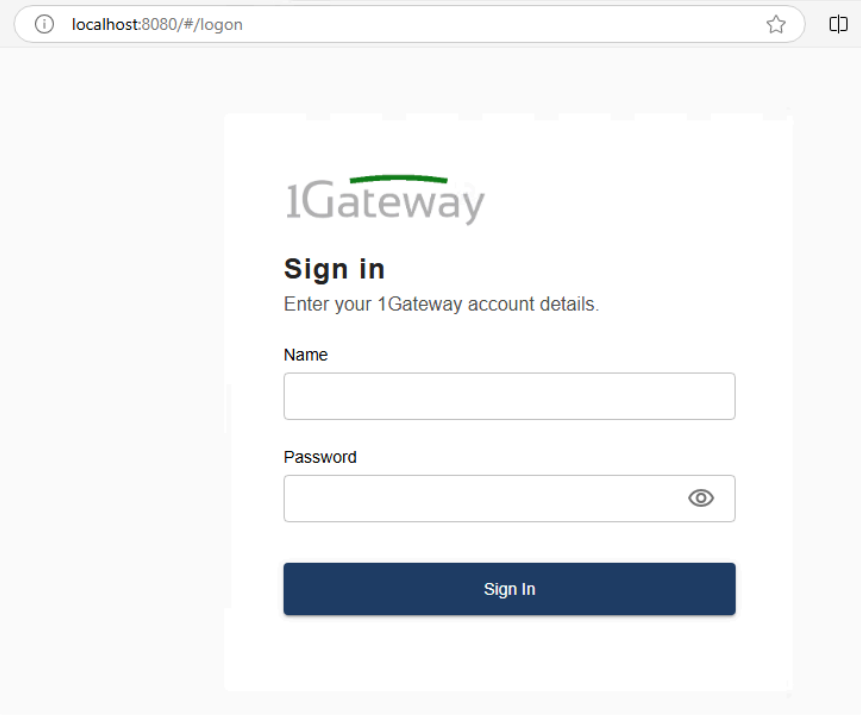
1Gateway Availability
- Now you can login at the default URL
http://localhost:8080for 1Gateway. If the default port (8080) is occupied, you will need to reconfigure the port as shown below. - The login screen prompts you to "Enter your 1Gateway account details".
warning
At first login the default username and password for 1Gateway is admin/admin. It is recommended to change this right away.
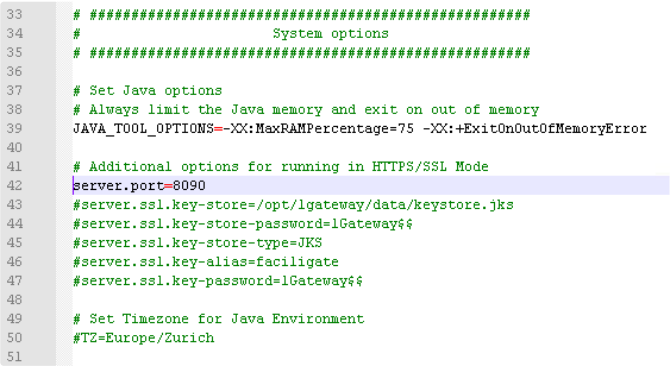
Reconfiguring the 1Gateway Port
- If you need to reconfigure your port after installation because 8080 is already occupied, you can do this in the
application.propertiesfile. - This file is found in the installation directory of 1gateway.
- Change the
server.portline to the desired port (e.g.,server.port=8090).